Grilled Kimchi

You'd be hard pressed to call this last month "spring." If it was really spring, we would have been Meatwaving, and at this time last year I already had two cookouts under my belt. I was planning to have a similar schedule this year, but cold, rain, and snow have persisted for so long that it has felt unrelenting. It became clear a winter Meatwave wasn't going to happen, but it started warming up a bit around mid-March and I set my sights on getting things up and running by month's end, planning out a whole Korean-themed menu I couldn't wait to execute. A week prior to my selected start date, I even began working on a recipe for grilled kimchi, knowing I would need at least seven days to let it ferment nicely prior to serving. Then that hopeful start of the season came and went without any cookout—mother nature decided it would be better to have snow and a high in the low 40s rather than letting me begin my Meatwaves. Sad, but not never defeated, I pushed my first event back month and figured my kimchi would just get to ferment longer, which may not be a bad thing. It's felt like forever since then, but this weekend we finally kickoff the season and it was finally time to crack open that kimchi and see how it did.
Grilled kimchi may seem gimmicky, but the idea came from a very real and loved flavor experience. See, I used to not be a huge cabbage fan unless it was turned into coleslaw, but then I discovered grilling this hearty green gave it an incredible nutty flavor and wonderful crisp-tender texture that's really amazing. I figured there was potential in that to add even more complexity to kimchi, although I've never met anyone who thought kimchi really needed more flavor.
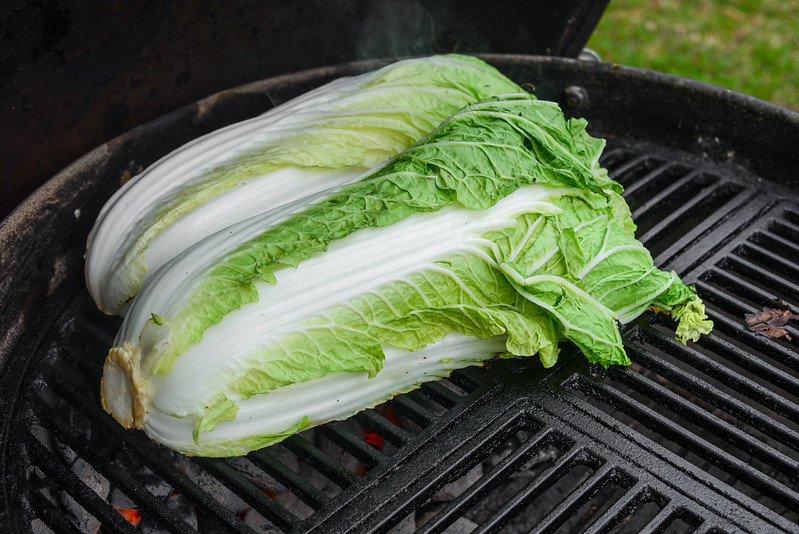
Since I was still planning on salting the napa cabbage to draw out moisture, the grilling portion was really just to get a nice char on the leaves and transform the flavor and not about tenderizing the vegetable. So the grilling step of the process was rather quick, just cooking the cabbage a short four to five minutes to impart some blackening and grill marks.
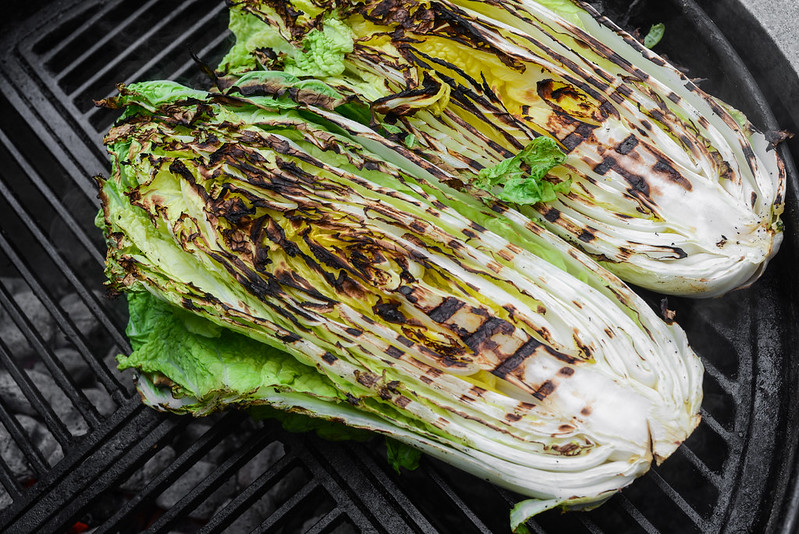
Once done, the cabbage looked like this, which made it all the more appetizing right off the bat.
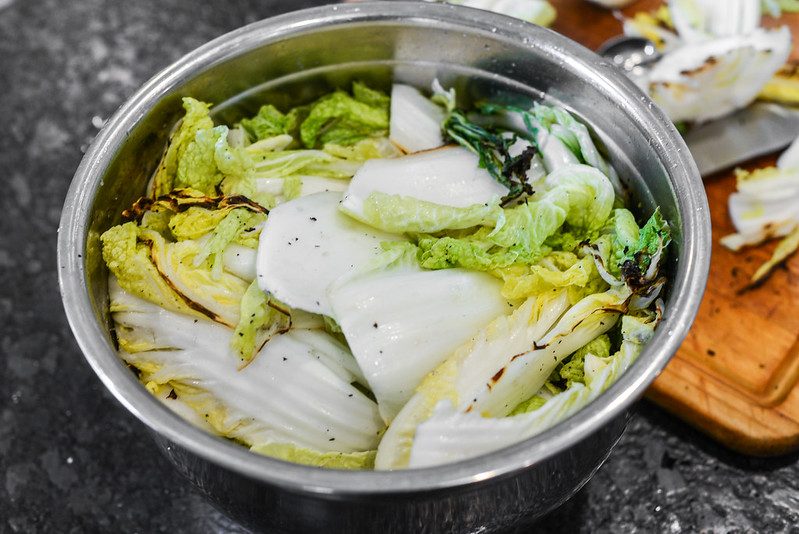
Once I removed the cabbage from the grill, I cut off the root end, separated the leaves, and then placed them in a large bowl. Next I tossed the cabbage with a couple tablespoons of Kosher salt and let it sit out at room temperature until the leaves were tender and the bottom of the bowl had accumulated a quarter cup or so of extruded liquid.
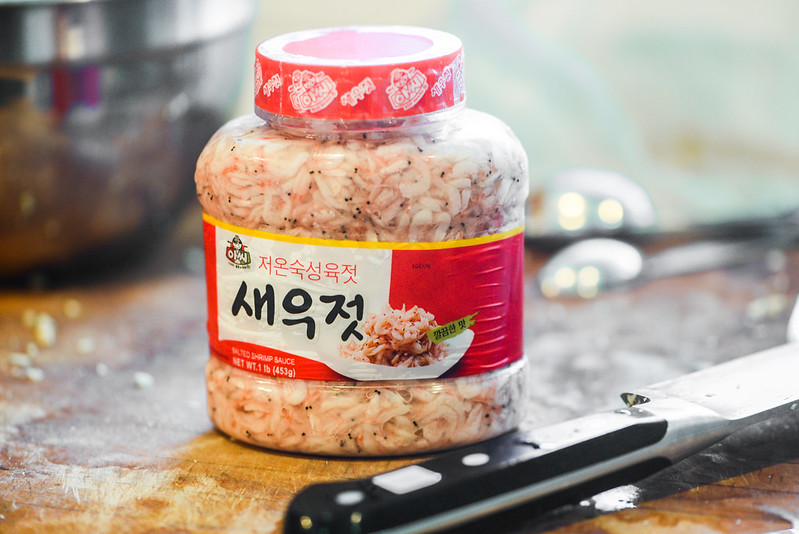
While waiting the few hours this took, I made the kimchi dressing. I wanted to go for authenticity here, which calls for these tiny salted Korean shrimp to impart the true savoriness of great kimchis. I've seen it come as a surprise to many folks that kimchi is not vegetarian, and with so many vegetarian friends, I didn't want to leave them out of the kimchi party. So I also made a second batch that subbed out the shrimp and fish sauce for a couple tablespoons of red miso paste, which is a great way to get in that savoriness without the use of any seafood.
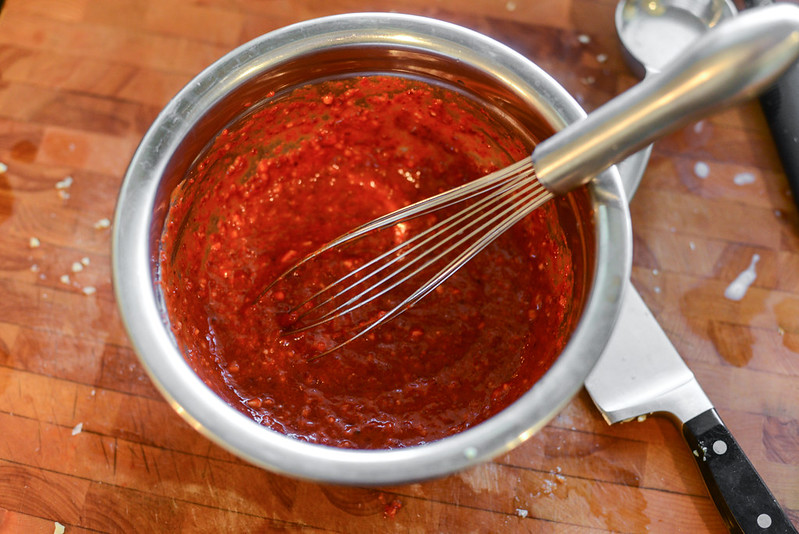
The liquid base of my sauce was a mixture of sweet (aka: glutinous) rice flour that I had mixed with water and thickened slightly over medium high heat on the stove. To that I added a large amount of gochugaru (Korean red pepper flakes), which gave the sauce its distinctive red color and heat. I also used plenty of garlic and ginger along with the shrimp and fish sauce, and then just a tiny amount of sugar to take a little edge off the overall sharpness of the paste.

Besides the excitement over making my own kimchi, I was also a bit giddy to use my brand new mandoline. A leg of my old plastic mandoline that had been a workhorse for me for over ten years broke off recently, so I used that as an excuse to upgrade my mandoline, getting one that could both cut matchsticks as well as waffle fries (things I wanted before, but never had). I figured that matchstick setting would make quick work of what used to a somewhat time consuming task of finely dicing veggies, and that proved to be true when I julienned a Korean radish in no time.
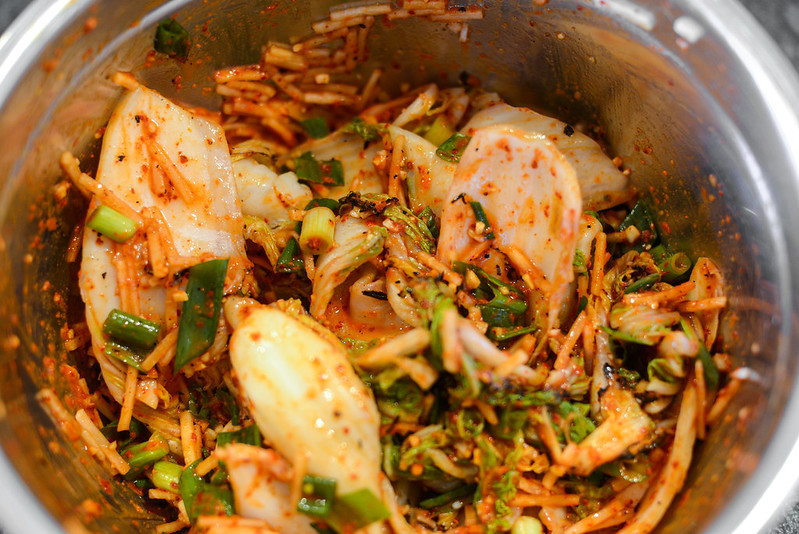
I added that sliced radish to the bowl of cabbage, along with scallions and the sauce, and tossed everything until well combined. I then transferred the kimchi to large mason jars, packing it in tight and removing air bubbles along the way. I then let the jars sit out at room temperature for a day to begin the fermentation process before putting them in the fridge.
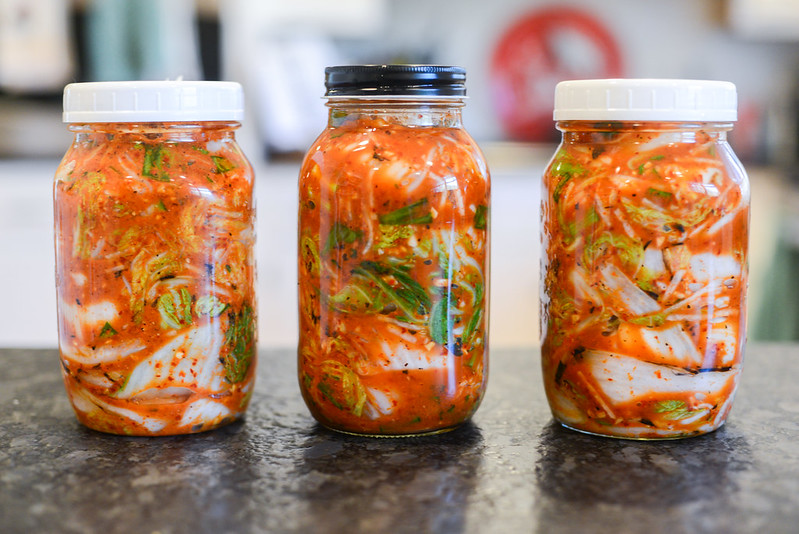
I couldn't wait to see how this was going to taste on Meatwave day, but then when I had to cancel, I had to decide whether to consume the kimchi now or save them for next month. I read varying opinions on fermentation length and concluded that longer may not be a bad thing, and some of my most trusted sources actually preferred a three weeks to a month time frame. So I stayed the corse, keeping the jars in the fridge, unopened, until just this week.
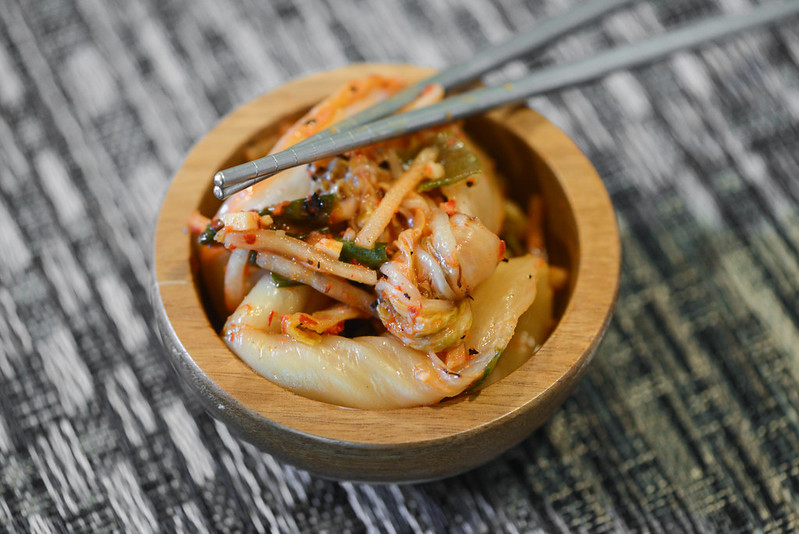
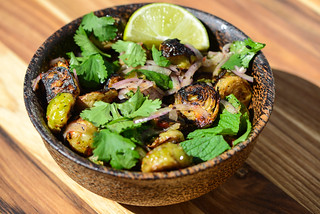
When I popped open the lid of one of the jar, I was greeted first with that familiar funky spicy and sour aroma, followed by a taste that was even more pronounced that that. It seemed that the month long ferment had resulted in some pretty damn sour, albeit very tasty, kimchi. The sourness was by far the defining characteristic of this kimchi, overtaking the spiciness which only hit at the very end. The sharp flavors of the garlic and ginger seemed to have melded in with the extreme savoriness formed by the shrimp and fish sauce, giving my kimchi its distinctive complex taste. Everything was so strong that it really did drown out any addition added by grilling the cabbage, so whether you want to take that step is up to you. It obviously didn't hurt, and saying you made grilled kimchi has its own allure, just don't expect anything out of the ordinary, which isn't a bad thing when ordinary is so great on its own. Now I just can't wait to have my friends over this weekend and finally get to serve this and kickoff the Meatwave!