Meat Tips: Coal Arrangments
I get so wrapped up in my endless supply of recipes ideas, that I forget that I still have a lot of ground to cover here on the basics of grilling. So over this summer, I'm tasking myself to put up some long overdue guides on fundamental grilling know-how to make sure we're all the best grillers we can be.
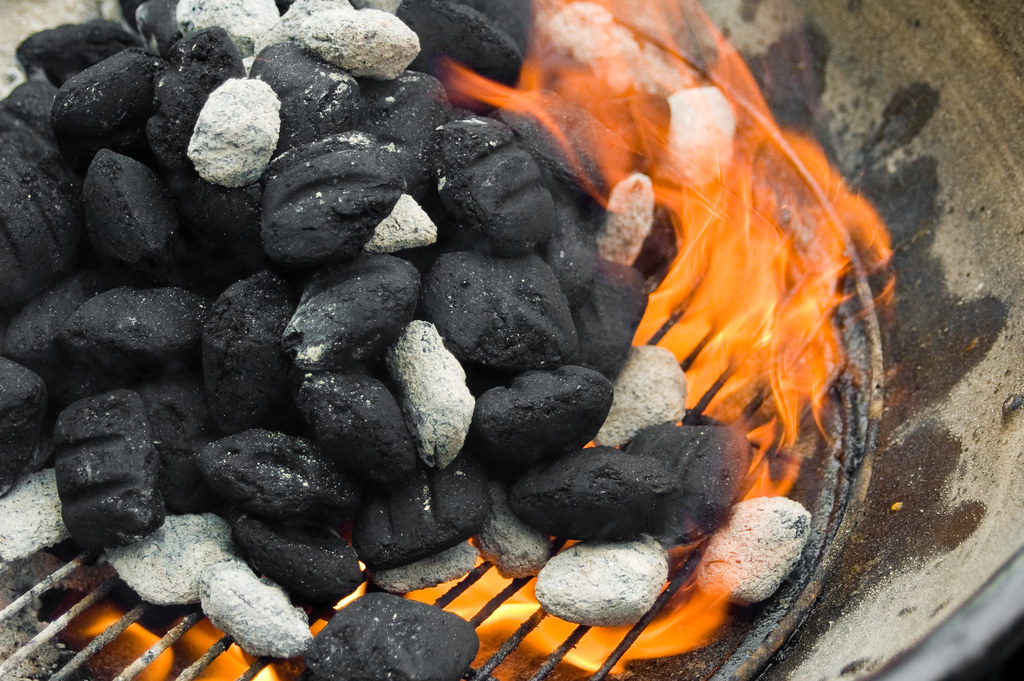
To start things off, a primer on coal arrangements is needed. In almost every post, I mention either direct or in-direct heat, and mastering this difference, and all the in-betweens, is essential to becoming an excellent griller.
Direct vs. Indirect Heat
Direct and indirect are merely two ways you deliver heat to the food you're grilling.
Direct heat is when the food is grilled directly over the coals. This delivers heat to in two different ways. The main contender is radiant heat, which will quickly cook the fire-exposed side of whatever you are grilling, creating a nice, crusty sear. The second is conductive heat, created from the super-heated grill grate, leaving those ubiquitous grill marks that proudly say to the world, "This food has been grilled!"
Alternatively, indirect heat is when food is placed away from the coals and, when the lid is closed, hits your food with some convection heat action, much like an oven. Unlike direct heat, which blasts your food with some extreme energy, indirect delivers a more gentle heat, and even though radiant and conductive heat are in play a little, it will not create the sear and grill marks to the extent direct-heat grilling does.
So having that down, it's time to put them into action with coal arrangements.
Direct Fire
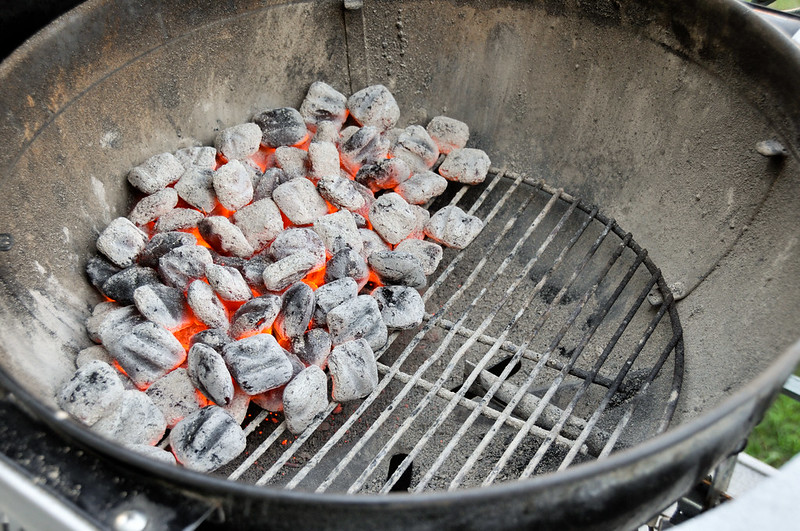
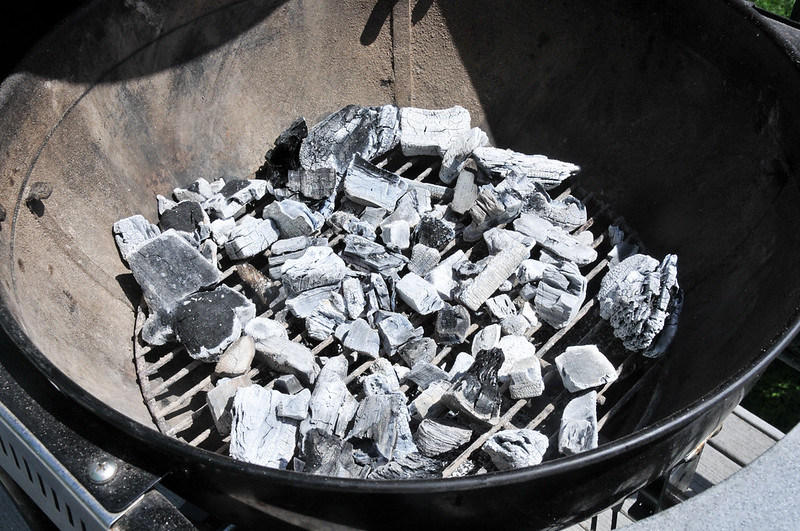
The most common coal arrangement by far is a direct fire. This is created when a batch of lit charcoal is spread evenly across the entire charcoal grate. The advantage here is grilling space—although there may be some temperature fluctuations, a full direct fire lets you make use of the entire cooking grate with a fairly even heat across the board. Go ahead and sear off that mess of burgers, fish, sliced veggies, etc—you have the space and heat to accomplish it all.
Two-Zone Direct Fire
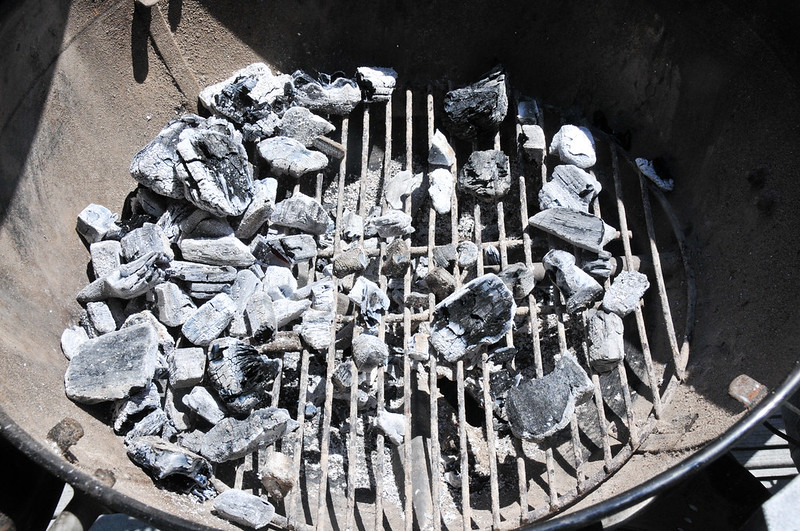
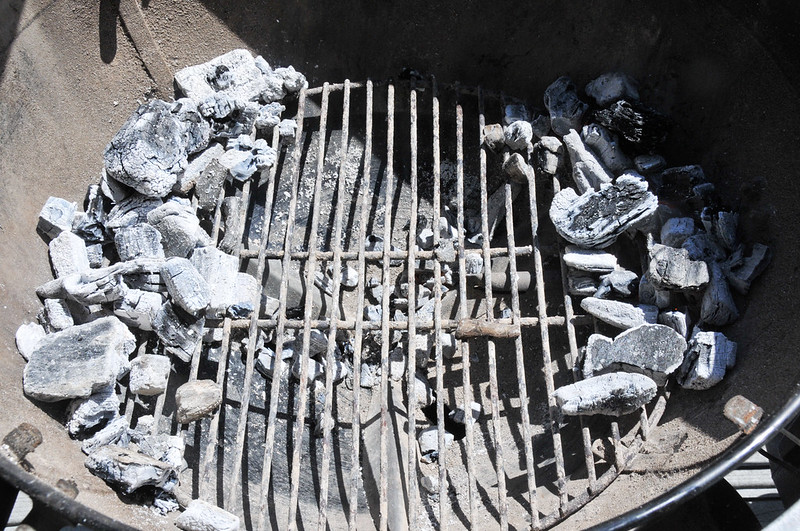
Sometimes you need a direct fire, but without an even amount of scorching heat—that's where the two-zone direct comes into play. Two levels of direct heat are created by piling up a large concentration of coals on one side, and a smaller scattering on the other side. For foods like steak that may require a nice sear and then some more gentle heat to finish it off, this would be a decent choice. I often like this arrangement because it affords me the ability to move food between the two zones, ensuring that I get a nice crust, while having more control over cooking to perfect doneness.
Two-Zone Indirect Fire
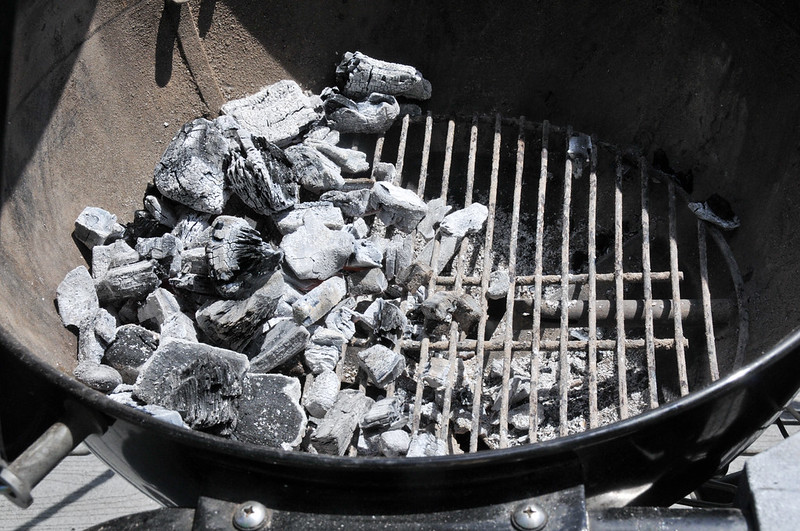
When cooking hot and fast isn't what you need, you'll most likely be turning to a two-zone fire. To get this arrangement going, pile all of the coals on one side the grill, leaving the other side completely empty, creating both direct and indirect heat zones. A two-zone will be handling your roasts, whole birds, ribs...anything requiring longer cooking times with more gentle heat. This is actually my standard coal arrangement even when not roasting because it affords some searing heat, as well as space to either move food to in the event of flare-ups, or an area to just keep things warm. The one word of warning with this arrangement is that in indirect roasting situations, it's important to flip your meats for even cooking since one side will inevitably be closer to the coals than the other.
Three-Zone Split Fire
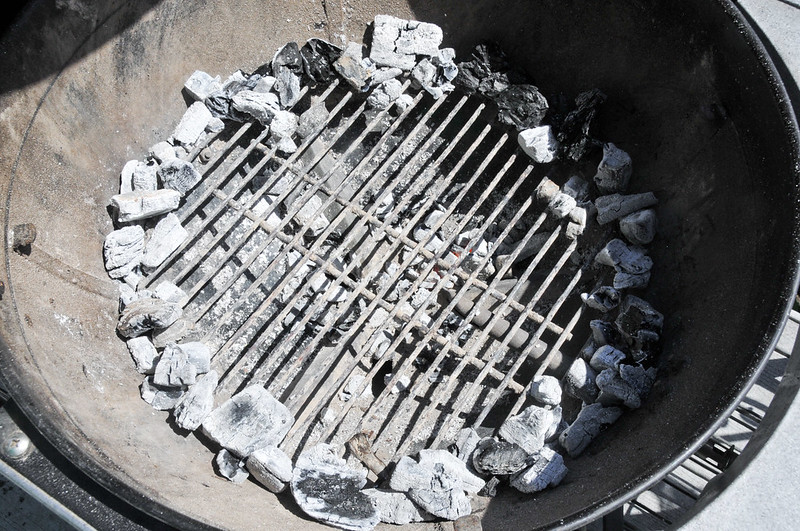
A better option for roasting, in my opinion, is the three-zone split. It's like the two-zone, but instead of piling the coals on one side, two equal piles are made on either side of the charcoal grate. With a lose of direct grilling space, this arrangement is really best for items done primarily over indirect heat like whole chickens, pork loins, and beef roasts. Having fire on both sides of the food gives a more even heat, which can lessen, or eliminate, the need for rotating during cooking. Since rotating requires opening the lid, and opening the lid lets heat escape, the three-zone split will also cook those indirect items a bit faster than a two-zone indirect.
The Ring of Fire
This arrangement put the same principle into practice as the three-zone split, but with an even ring of coals encircling the sides of the charcoal grate. Taking longer to arrange than the three-zone and not seeing much benefit over it in my final product, I've only used this method once myself, but it totally has the coolest naming of all the coal arrangements and has me singing Johnny Cash every time I hear its name, so it made it into the guide purely on those grounds.
Armed with this information, it's time to put it into practice. Since each grill is a little different, it's best to play around with the placement of the coals to see what will work best for you. Put in some good time grill-side and it will all become second nature pretty quickly, and once you have a handle on all the arrangements, you'll find that there are few recipes that can't be adapted to the grill.
You Might Also Like
Comments
-
Tim Great article. Is there any best practice to placement of the top vent for each different setup?
-
Josh @Tim For indirect grilling, if you place the food and the vent on the cool side of the grill, the smoke will carry across the food before exiting the grill.
-
Justin Sometime can you talk about how you use your lid? For indirect heat with a small/smaller chance of flare ups, its seems reasonable to use the lid more. I'm wondering about items that are more on direct heat, like a steak -- do you just keep the lid open to monitor the grilling, or do you close the lid and peek more often? Thanks.
-
The lone realtor It's always amusing to watch a demo on indirect grilling, using charcoal, when the demo is done on a ROUND grill. I know, I owned, and fought indirect grilling on one, for years, and it found a new owner on Craig's List. That's when I purchased an Oval XL Primo Grill. Costs more, but worth the cost. OVAL beats ROUND every time. So easy!
-
BK All Day sometimes in my wsm i've noticed wood chunks or briquettes will flame up. not wanting the temp to get out of control i usually take the wood chunk or briquette out of the chamber and let the flame burn out on the ground. should i just let it burn out in the smoker or am i right in taking the flaming chunk/briquette out?
-
Chris Exceptional post Josh, a great how to.
-
Josh From on Josh to another, thank you for the very informative post, I am still a BBQ beginner and am still working on my lighting technique, I'm thinking of buying a chimney starter because I am not fond of using newspaper and I have trouble keeping it lit without using a good amount of lighter fluid, but once I get that down I can't wait to try these variations!
-
Josh @BK All Day I just let everything burn out in the smoker. Wood will flame at first, then slowly burn/smolder for a while. Never had issues with temperature fluctuation because of this.
-
AKATALCUL1 Good topic, Josh. A bucket or crock of sand placed in the middle of your ring of fire (and using more lumps of charcoal for the circle) can be a real game-changer. It's a great go-to setup for some slow duck or grilled pot of chowder recipes. If you pour your chimney started coals over an unlit ring, in one spot only, the burn will take it's time circling the bowl.
-
LeeK I just refurbished my late father's 26" grill with a half aluminum hood with brackets for a rotisserie. The grill is over 50 years old and I'm really excited to try a boneless prime rib on it. So, what do you say, coals one side in the back of hood radiating outward... pile front and back of roast? Whatever, it's happening on Oct 24. I think I'll do a chicken to practice first.
