Rotisserie Chicken

There are few delights that rival the skin of an excellent rotisserie chicken. Sure the juicy, flavorful meat is great, too, but the thin, browned skin that's crisped up in the bird's own slowly rendering fat is something I live for—it's the reason I got a rotisserie attachment for my grill in the first place. But three years after receiving that gift, I realized I was too hung up on specialty birds like Peruvian and mojo chickens; shamefully, I'd never cooked a single standard rotisserie chicken. I decided it was high time to right that wrong and set out to perfect the basics.
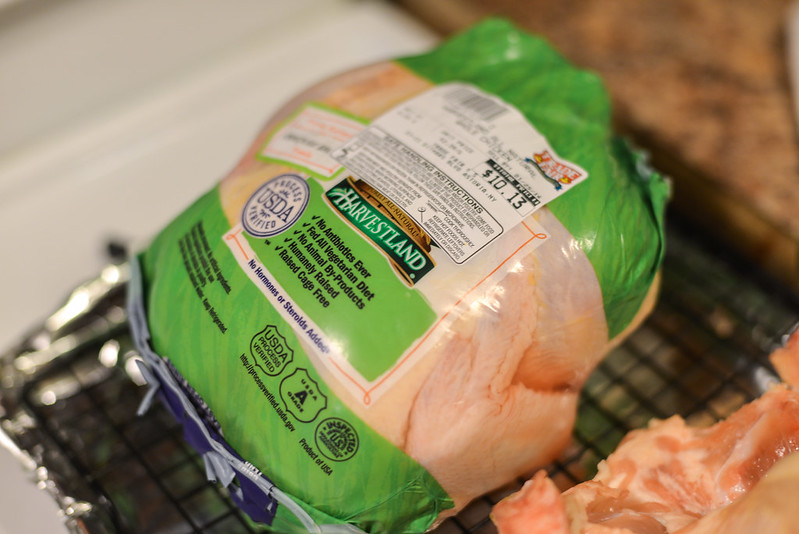
Rotisserie chicken doesn't have be more than a bird and heat. So I started out my venture the simplest way possible—one chicken and nothing more. I did, however, make sure it was a quality bird. I'm not big into organic everything, but ever since switching from those thick-skinned, yellow Perdue birds to more naturally raised chickens, I've noticed a jump in the quality of my final creations. I find these birds have a cleaner, more chicken-y flavor with skins that render and crisp more easily in comparison to the standard supermarket variety, both traits that I deem worthy of spending a few extra bucks on.
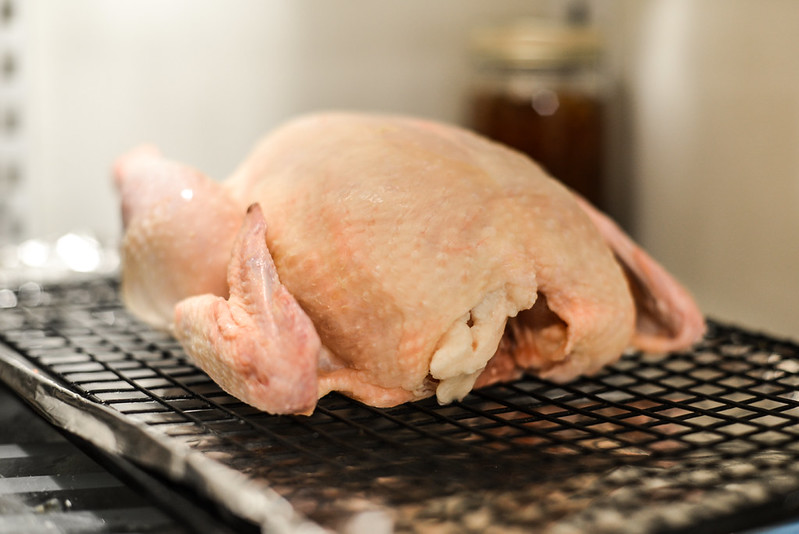
To make good use of my rotisserie space, I prepped another chicken to cook alongside the most minimal one I was using as a control. I didn't do too much to my second bird, just simply unwrapped it, patted it dry with paper towels, then placed it on a wire rack set in baking sheet and air dried it in the fridge overnight.
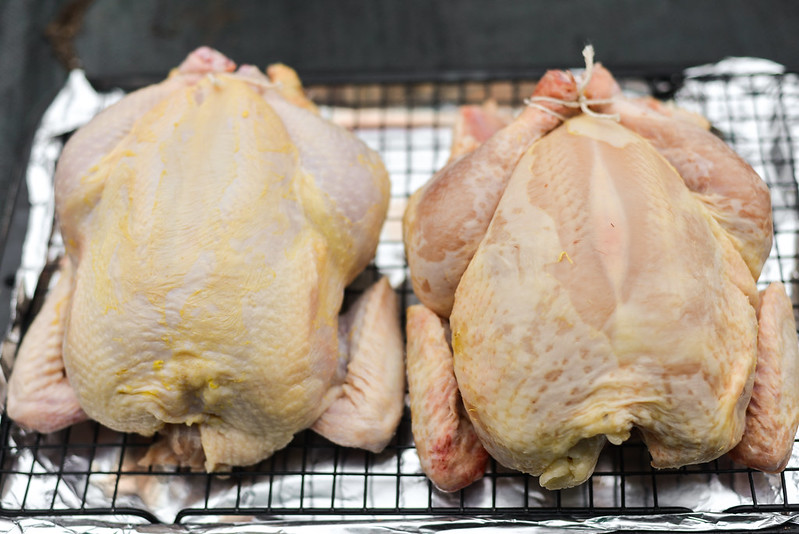
A side-by-side comparison clearly showed the air dried bird has much less moisture in its skin, which looks tighter and thinner than the chicken that was right out of the package. Air drying is a step I always take to get the best possible skin on wings, and thought it might be good procedure to follow to make great rotisserie chicken too.
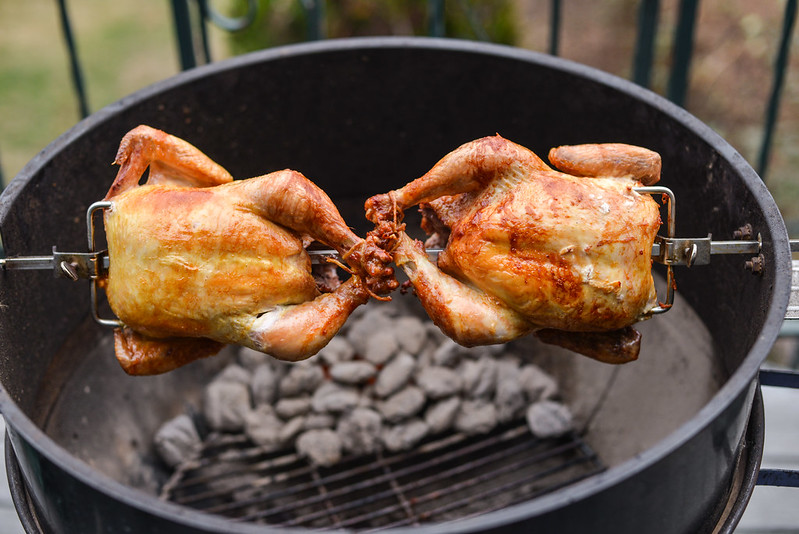
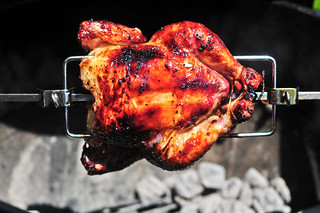
I placed both birds on the spit and got them spinning over one chimney of hot coals that I evenly distributed into two piles on either side of the charcoal grate—this left the temperature inside the grill around 350-375°F. As they approached final doneness, it was clear that air drying was a smart move. On the left is the chicken that was taken straight from the package to the spit. Overall, the skin remained flabby and an unattractive pale orange and yellow.
On the other hand, the air-dried bird developed some beautiful browning, but it was spotty at best. There was a single streak of intensely browned and flavorful skin, which was something I was aiming for all over, not just in one area.
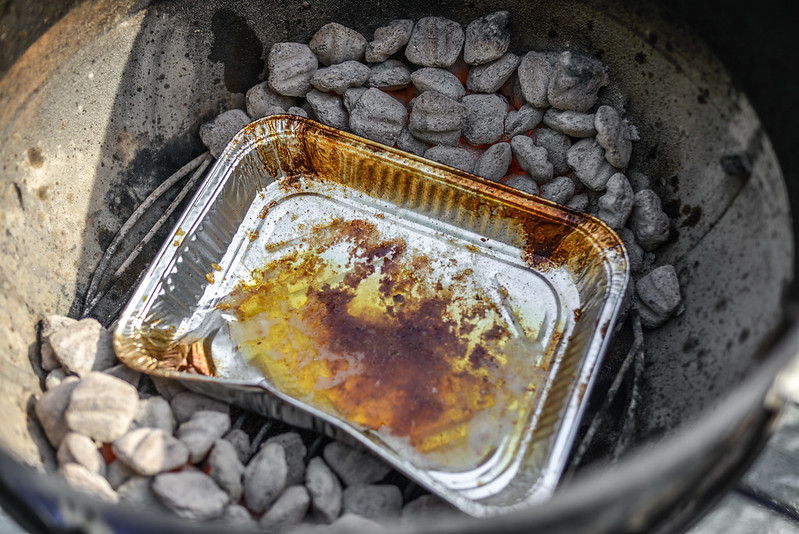
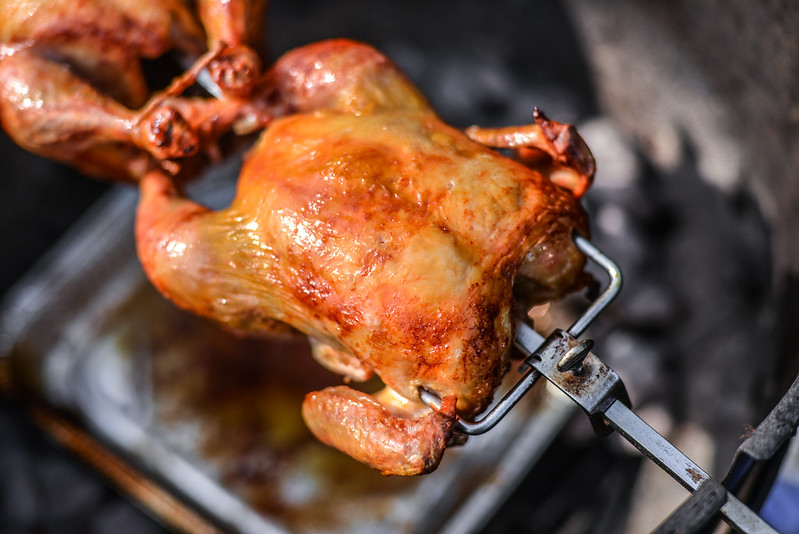
So I took those psuedo-failures and began taking steps to fix each one. For starters, more heat would produce more deeply browned skin, so I upped the amount of coals from one chimney to a chimney and a half. This brought the grill temp into the 425-450°F range. I also added a drip pan to between to coals to capture the rendering chicken fat after realizing what mess it made after the first go round.

Next I needed to make sure more of that rendering fat made it onto the skin, since that's where the flavor comes from. So I created fat escape routes by poking holes all over the chicken with a wooden skewer.
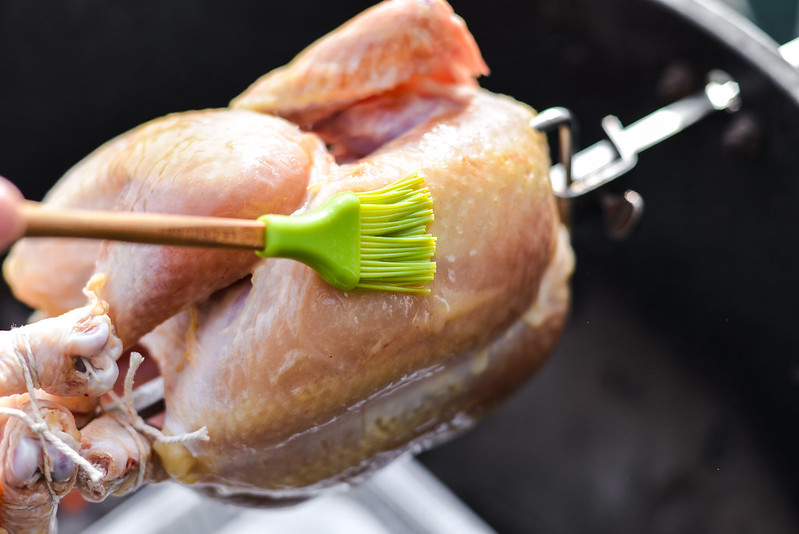
Finally, I gave the chicken a brushing of butter to further enhance the flavor of the skin and jump start the browning process. With all of these quick additional steps complete, I covered the grill and let the chicken cook until the meat hit 155°F in the thickest part of the breast.
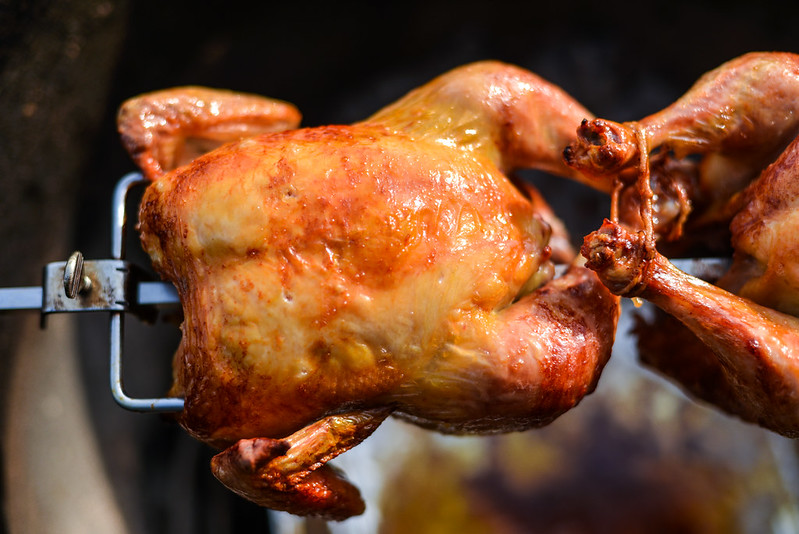
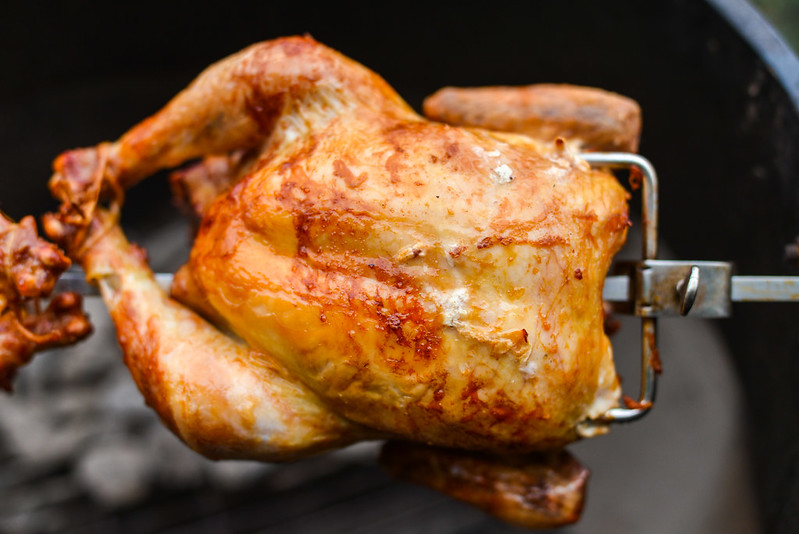
The bird I uncovered was much more evenly browned with crisper skin, all within a cooking time that was 15-20 minutes shorter than my previous efforts. Everything added up to make a pretty damn juicy, tender, and flavorful chicken. It was certainly a great home attempt, but I knew I could do even better.
So I made one final bird, this time opting to season the chicken heavily with salt before air drying to act as a dry brine to further enhance the natural flavor of the meat and its juiciness. Everything else I kept the same and this one ended up being the best chicken to come off my rotisserie by far. I feared the dry brine would prove to be too salty, but that was proven unfounded—the extra salt was exactly what I'd needed to concentrate the flavor of the skin and meat.
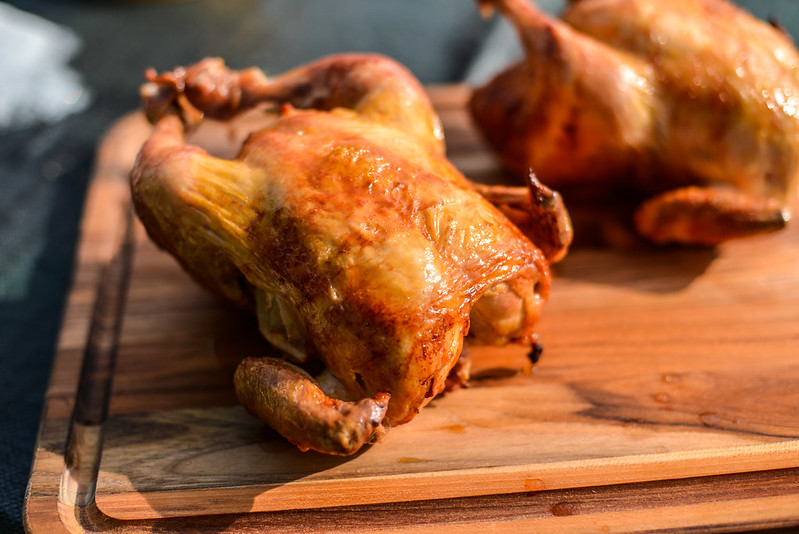
Since this was my second bird that day, I didn't finish eating all of it, but I couldn't help but peel off all the skin and savor it while it was still warm and at its best (I pulled the leftover skinless chicken and made it into enchiladas later in the week). As good as this was, I was left thinking that even more heat might do the rotisserie bird more justice. You could get that effect with lump charcoal—which burns hotter than briquettes—or direct heat, although fatty flare-ups could make that problematic. I'm sure I'll give it yet another shot, but for now, I've found a method that is sure to cook up one truly excellent rotisserie chicken.
You Might Also Like
Comments
-
David Beautiful birds, Joshua! That was a wonderful set of experiments to get the perfect rotisserie chicken! Nicely done!
-
GrimleyBear AWESOME RECIPE!!! Came out perfectly the first try....
-
Dusty How do you use the instant read thermometer with the rotisserie turning?
-
Dusty Oh, wait...never mind😳
-
Joshua Bousel @Dusty Glad you got it figured out. I just stop the rotisserie to check the temp, and if it's not done, then just flip it back on and let it keep spinning.https://meatwave.com/recipes/the-best-charcoal-rotisserie-chicken-recipe#
-
Susan After dry salt brining do you rinse the chicken before putting on the spit?
-
Joshua Bousel @Susan Nope, no need to rinse the chicken.
-
Samuel Heath How is the chicken cooked so fast? I feel like 30-45 minutes isn't enough time for a chicken to cook through? Am I missing something? ):
-
Josh @Samuel Heath This recipe uses a high heat fire, which should cook the chicken in that amount the time. It's always best to use a thermometer to measure doneness though since there's a lot of variables that could make your chicken cook longer, or even faster.
-
Paco You are missing a magical moment by not cooking directly over the hot coals/wood. All that chicken juice you have in the pan could have dripped on the coals and then the magic tasty smoke comes back up over the bird.
I go with a smaller coal/wood fire for the first part of the cook. Lower and slower. Spread the coals about the coal grate.
But spin the bird directly over the fire so some juice can drip on the coals. I also like to either cut the chicken in half or spatchcock the chicken. I like the wings and legs/thighs to be cooked more than the breast.
Then after getting the chicken to about 155°f remove from the fire and let it rest while I get a hotter set of coals going.
Then I finish rotisserie cooking the bird over a medium-high heat to get tasty crispy skin, but coals once again spread about the coal grate. I don't want flare ups to char burn the skin. But I still want some chicken juice falling on the coals to get the magical smoke coming back up over the bird, yummy!!