Dr Pepper Glazed Ham
Longtime readers already know this, but ham is my jam. I'm an equal opportunity ham lover, but when we get down to it, it's sweet city ham with a sugary glaze that really has my heart. For the past few years I've begun serving ham alongside turkey at my family Thanksgivings even though a bird alone is more than enough food for my clan. Thinking of the extra work and cost, I almost didn't make a ham this year, then, just a couple weeks away from the big day, I had a gnawing craving that forced me into an action that ended with a seven pound pig rump being sent to me via the mail. Glad that happened because this year I tried out a new glaze featuring Dr Pepper as the base, and I can say I think I've finally found my full ham master recipe.
While my ham selection and cooking method has remained consistent, I have been changing up my glaze constantly, never being fully satisfied with the ones I had come up. This year I had a new thought—why not take a cue from the sweet Filipino pork skewers I make every now and again and use soda to start things off on the right foot with a dark and sweet base that already brings a lot of flavor.
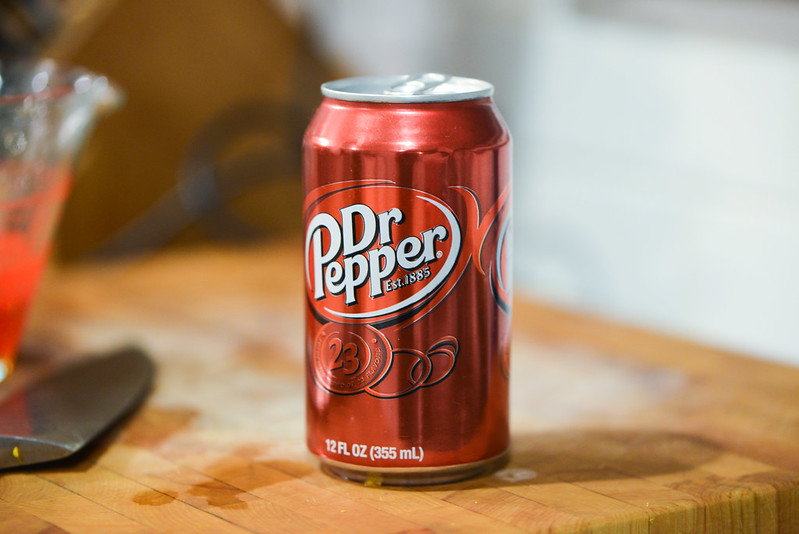
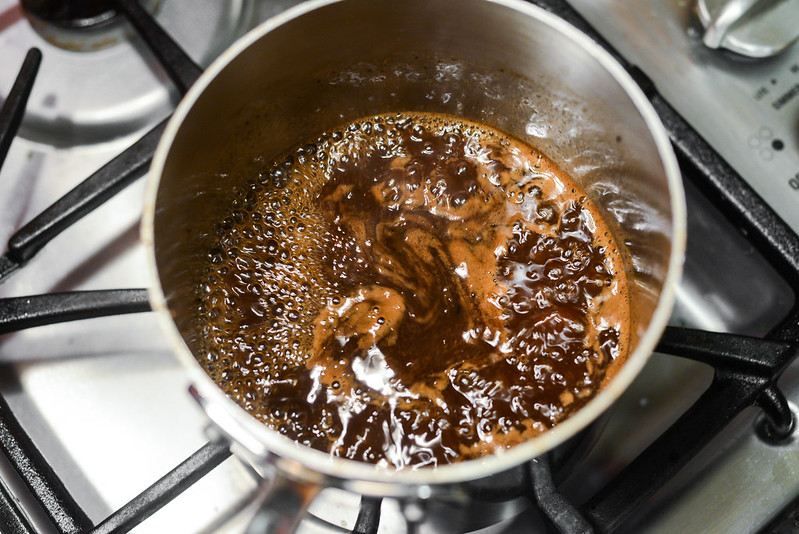
I opted for Dr Pepper, although Cherry Coke was also up there as a top choice, and combined it with fresh orange juice, honey, brown sugar, Dijon, cinnamon, and black pepper. I let this mixture slowly boil down until it was thick and syrupy, just like a good glaze should be.
The rest of this post is going to be a blanket repeat of past ham recipes I've done, because years ago I found a cooking method for city hams in Cook's Illustrated that has proven to be perfect and fool proof. I use the term "cooking" lightly because city hams are almost always precooked, so it's really a reheating method that keeps the ham as juicy as can be—and don't underestimate how tricky that is. Of course, starting with a quality product makes a big difference, and I've become very fond of the hams Burger's Smokehouse puts out.
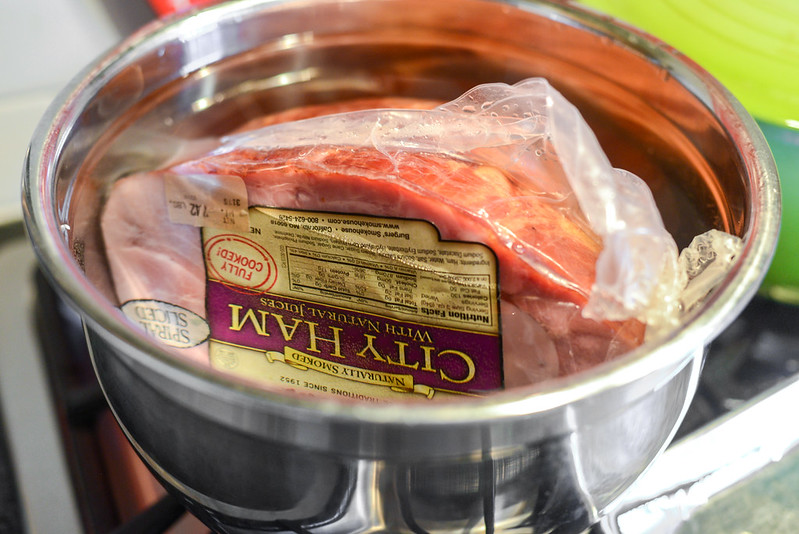
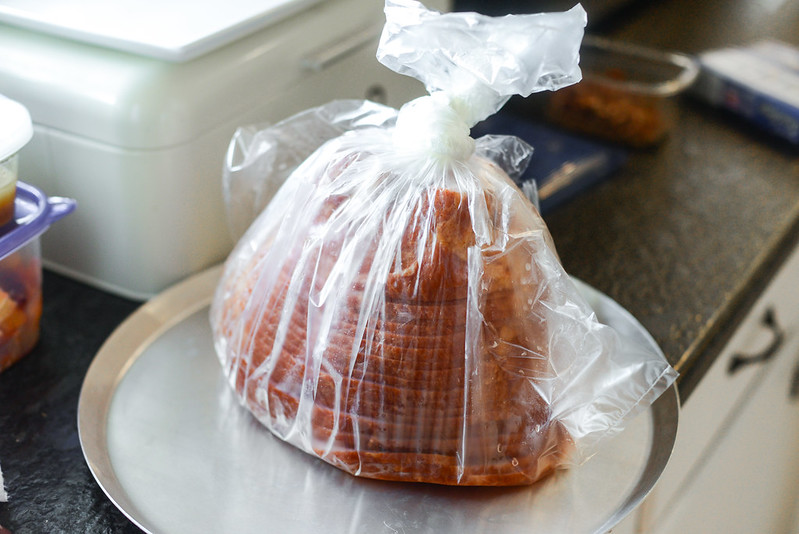
The main idea behind the method is to slowly bring the ham up to temperature, and the less time it spends in a dry heat environment, the better. That's why this process doesn't actually start in the oven, but rather by soaking the ham, in its packaging, in hot water. This takes the refrigerator chill away and results in far less cooking time.
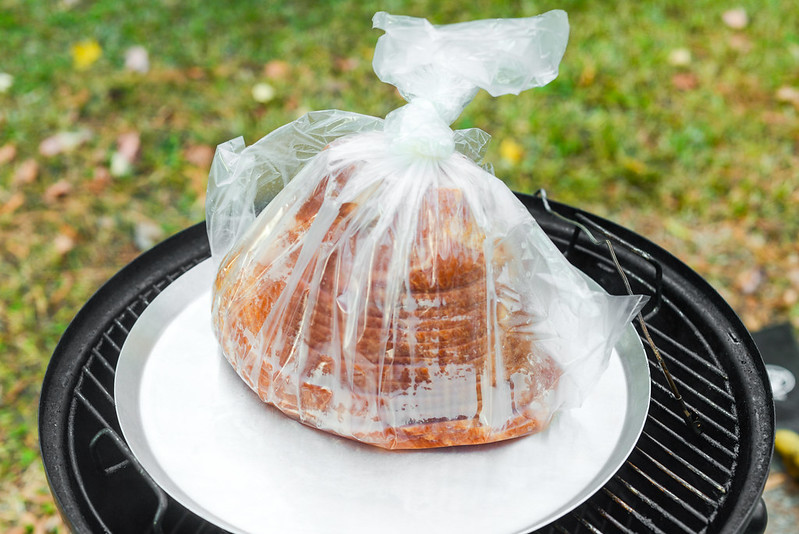
The next aid comes in the form of an oven bag. Prior to cooking hams, I had never heard of, or used, an oven bag before. Its use here is to create a humid cooking environment, lessening evaporation and speeding cooking. One hundred percent humidity wasn't what I after though, so some small slits were cut at the top to allow a little exhaust.
Then into the smoker the ham went. Since it was already cooked and in a bag, using the smoker as a way to impart smoke was not a goal, or even achievable, but what I did want was a slow and steady heat, and what's better for low and slow cooking than a smoker? I used my trusty CyberQ Cloud to keep the temperature a fairly constant 225°F and let the ham creep up to an internal temperature of 100°F.
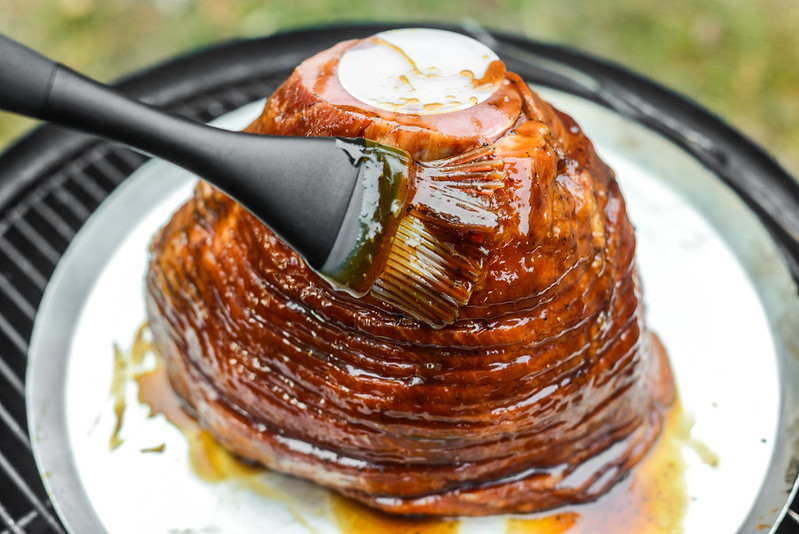
Once that happened, I removed the oven bag from the ham and dumped the water out of the water pan in the smoker to up the heat. I applied my beautifully thick and glossy glaze, covered, and cooked until the glaze had baked down and the ham's temperature was no more than 120°F. You can also keep the heat low here, but the glaze thickens up a bit better and faster at a higher heat, which is why I like to try to get the smoker temp up around 325°F for this final step.
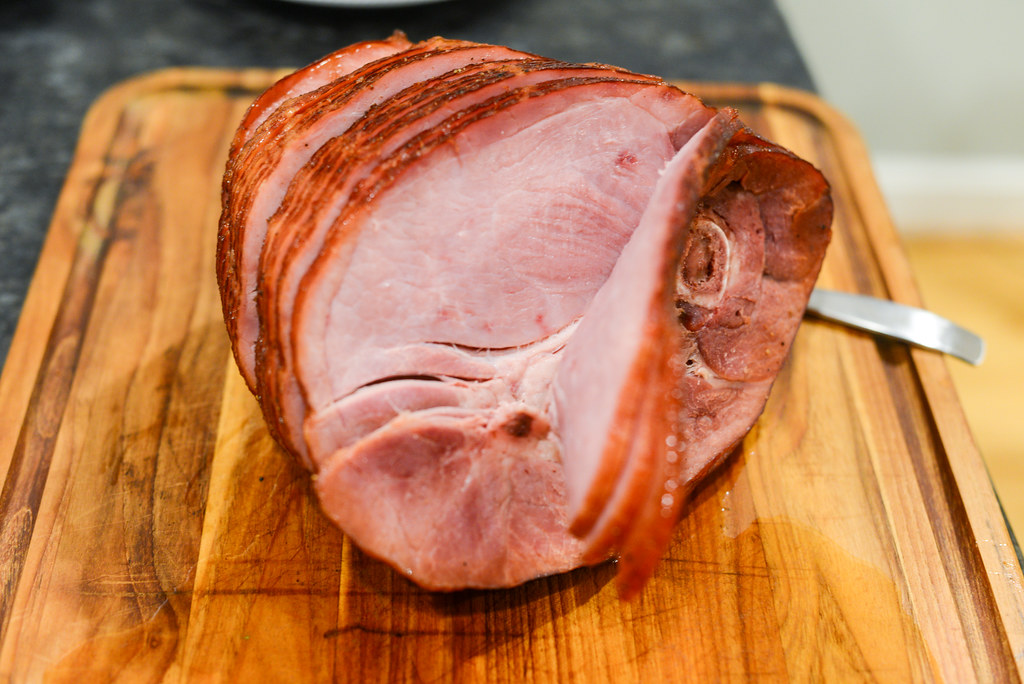
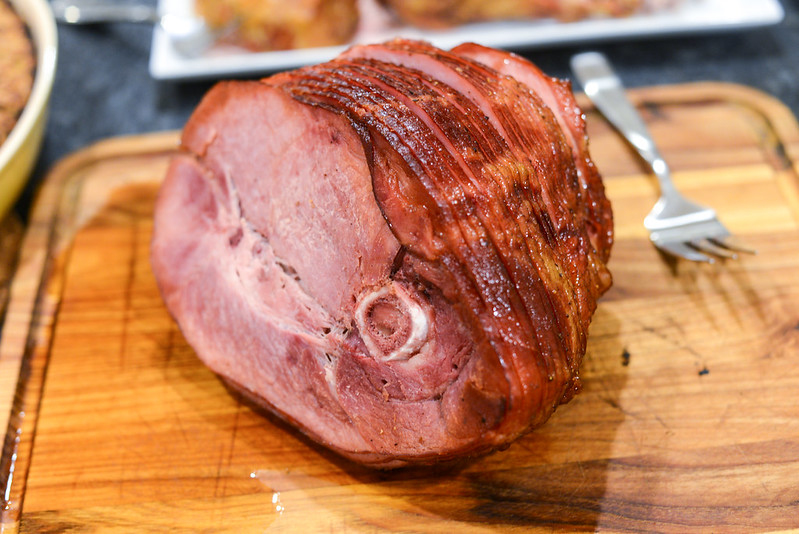
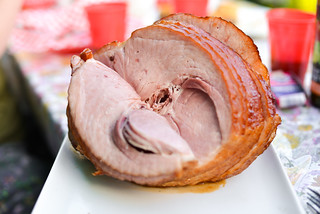
Then it was serving time, and while the ham was essentially the same one I've served for the past couple years, this one looked better in my eyes for some reason. I think the dark color of the glaze helped, plus that fact that it baked down into a thick, sugary crust. The meat was as juicy and sweet as I could hope for, and what I've come to expect using this reheating method many times now. It was that glaze though that really turned this ham up a notch—what gave it better looks also provided even better flavor. With only the very edges available to make an impact, the glaze needed to do a lot of work in minimal space, and this one delivered big on the ideal sweetness, but with a complexity, thanks to the Dr Pepper and little portions of cinnamon and mustard, that has been unmatched in my experience to date. So now that I think I finally have my gold standard glaze recipe, you likely won't be seeing another holiday ham recipe from me for a while as I put this one on repeat, but hopefully you can use this to make your holiday centerpiece meat as great as it can be.
You Might Also Like
Comments
-
Steve Just an FYI... Dr Pepper does not have a period after the "Dr". It's "Dr Pepper", not "Dr. Pepper".
-
Chris Great minds think alike!
