Dr. Pepper-glazed Beef Back Ribs

It's not always easy being a beef loving barbecue man in the heart of hog country—there aren't many smoking the Texas-style meats I love the most around here and then the cuts I need to make them at home are not readily available. Beef short ribs are my favorite cut, but I rarely see them not already butchered into flanken or English cuts, making getting an intact rack to smoke a special order situation that requires more preplanning than I often do. Oddly though, beef back ribs are everywhere and that's not something I was used to seeing until I moved to Durham, so I've made myself more familiar with these ribs that are basically the leftovers from cutting a boneless prime rib. They're not super meat heavy, but what's on those bones is incredibly delicious, especially when slow cooked in a way that all the intermixed fat becomes soft and luscious too. It should come as no surprise that my first recipe for back ribs on this site took the minimal salt and pepper Texas approach, but I decided to branch out on a recent occasion and made these really awesome Dr Pepper beef back ribs.
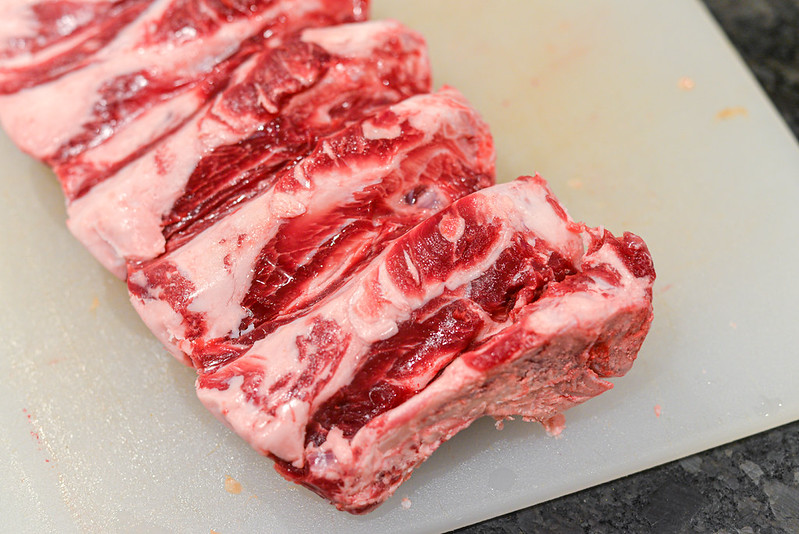
As I already mentioned, beef back ribs are pretty just a discard cut being what remains after removing the majority of the meat for a boneless prime rib roast. That roast is what's going to fetch the top dollar, so back ribs are often inexpensive, but still have a mighty beefy flavor. They also may looks like there isn't a lot of meat on the bones, but once you cook them and start digging in, there's plenty to enjoy in my experience and one rack can feed two to four people depending on appetites.

In recent years, almost all of my beef barbecue has just gotten the simple salt and pepper treatment, so it felt a little odd, yet nicely challenging, to devise a rub and sauce combo that would work well against something so beefy. I decided early on to go with a sweet Dr Pepper glaze for the sauce, so that left me making a rub that would add a contrasting bite against a sweet sauce to make everything be in balance in the end. I skipped the sugar altogether here and went in strong with the salt and pepper as the base, then built up a fruity and earthy profile with ancho pepper, cumin, paprika, and garlic powder.
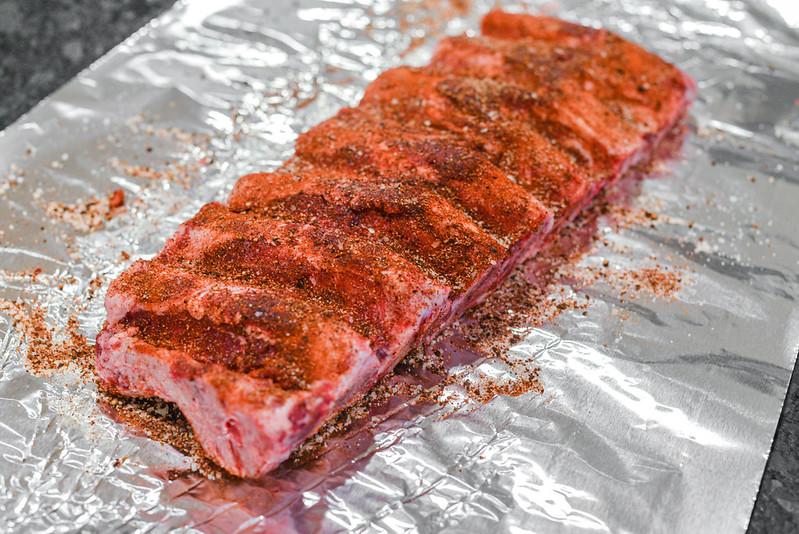
Before applying the rub, this rack of ribs did need a bit of trimming mainly due to the excess amount of fat it had. It was mostly on the underside, but there was large areas of hard fat on the top that I trimmed down to a thin layer so there would still be some left in the end, but not so much that it would be unpleasant to eat. Once ready, I covered the entire rack in the rub, something I did the night before because I wanted to keep the prep needing to be done very early the next morning to a minimum.
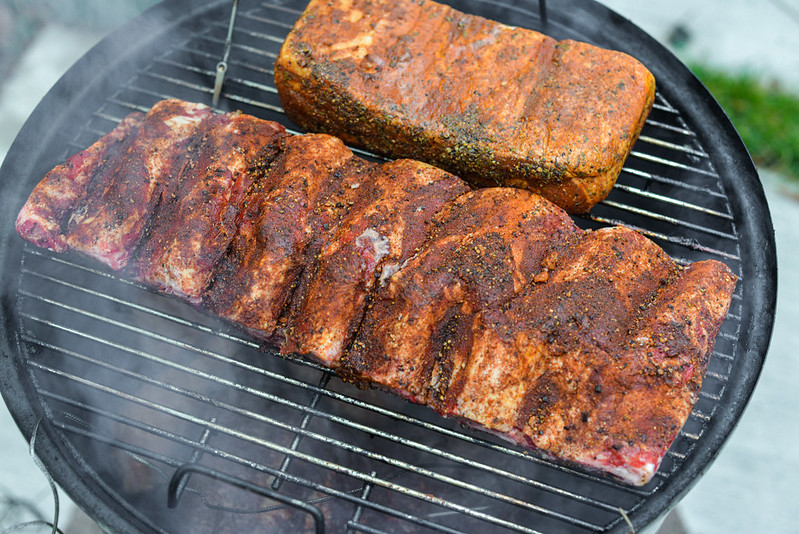
This was going to be for lunch, and since my previous back ribs clocked in at between five to six hours of cooking time, I was awake before sunrise that day to get the smoker set up and going. I put these in around 8:00am, after the pit was holding steady at 225°F and the few chunks of pecan wood I had tossed on the coals were smoking well.
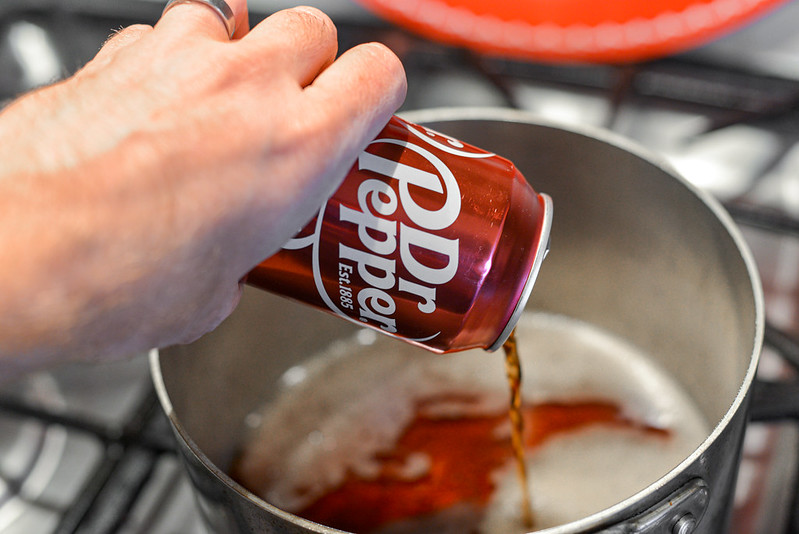
While the ribs were smoking, I assembled the sauce. I couldn't decide if I should go with a barbecue sauce or something more akin to a ham glaze, which landed me somewhere in between the two. A full can of Dr Pepper was paired with a lot of brown sugar and honey, which would give the sauce that glistening sweet glaze property, but I also added ketchup and a mixture of spices and sauces to give it a barbecue tang and complexity. It took about 30 minutes of simmering for it to thicken to a medium-syrupy consistancy, at which point I took a final taste and was super excited that it exceeded my initial expectations—what I thought would be a mostly sweet and simple flavor actually was very well layered with more depth to it than I imagined it would have.

With pork ribs, I test doneness by lifting one end of the rack and judging the bend, but because these large ribs don't have those same properties, I went by temperature here. Most fatty beef cuts, like brisket and short ribs, are at their ideal tenderness when they hit the 203°F mark, so I checked the meat between the bones as they cooked to see how close it was getting to that target.
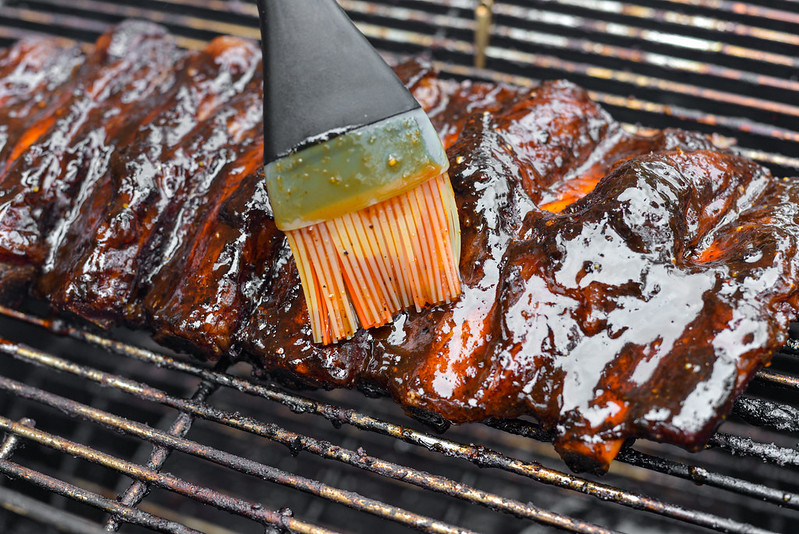
When it was about 10°F shy of being done, I applied the glaze. Because it was already a syrupy and somewhat thick sauce, it didn't need all that much time to bake down like some barbecue sauces require over low heat—it actually looked just how I wanted it to after applying the first coat.

The sauce, however, did become a thinner layer during that 30 minutes of final smoking time, so I gave the ribs one additional brush of sauce before wrapping them in foil and placing in a warm oven for an hour to rest. I would advise not to skip this resting step since I attribute it being pretty crucial in my best barbecue—briskets, pork butts, and beef ribs I don't rest are never as juicy and tender throughout as those that I do.

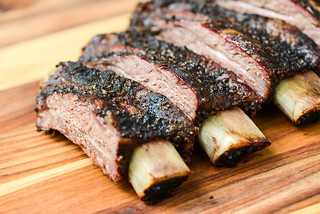
If I had any regret with this recipe its that I didn't get better photos. I made these on a cold and dark day and didn't want to shoot outside to avoid the ribs getting cold, so I took some quick shots in my kitchen without busting out my studio lights and I think which I captured doesn't do these ribs justice for how good they were. I thought I was going to wish they just had the usual salt and pepper coating I crave, but the rub and sauce combo was working so well that the thought never even crossed my mind. The big beefiness of the meat was the star attraction, with soft fat enhancing the flavor and texture. The sweet Dr Pepper-based sauce felt very well suited for the ribs with the rub doing its work on delivering the sharp and earthy flavors that were not present in the sauce. I was actually dismayed that after two ribs I felt pretty full and couldn't eat more, because while these do reheat well, they're never as good as when first cooked. I guess maybe it's a plus then to be able to get back ribs so easily in North Carolina, making it a snap to make this recipe again anytime, although they will never take the place of the short ribs that truly have my heart.