Smoked Jalapeño & Cheddar Sausage
It was about ten years ago that I took my first shot at making a jalapeño and cheddar sausage. I was moderately decent at sausage making at that point in my life and deemed the recipe good enough to share out on Serious Eats, but I still knew it wasn't at the Texas-barbecue levels I was hoping to one day to achieve. Fast forward to 2022, and this site was still absent of a jalapeño and cheddar sausage recipe, even though it's one of my favorite links and undoubtedly what I opt to order if it's on the menu. So I took another stab at a recipe and, while I know there's always room for important, this time they turned out pretty damn stellar.
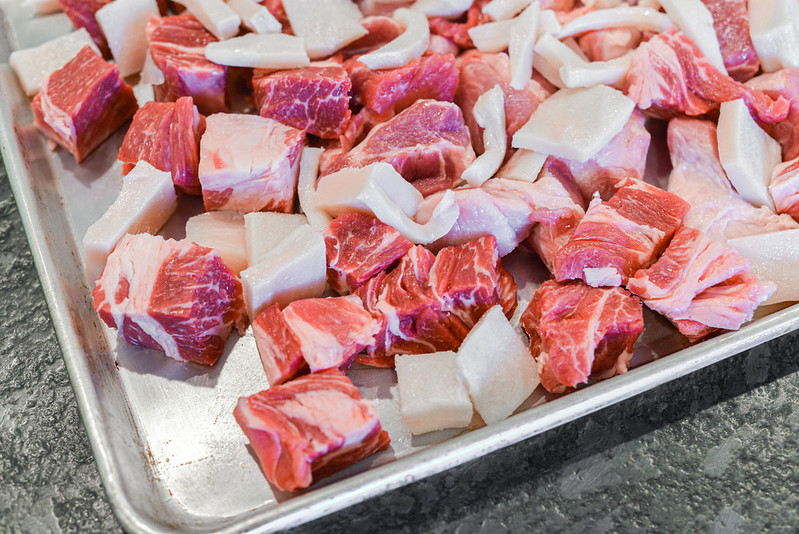
Most of my current sausage successes I attribute to paying much more attention to keeping everything as cold as possible during the entire process. I knew from the time I started sausage making that keeping everything cold was important to getting the best textural product, but I also figured I'd come out on the other side just fine even if I wasn't super diligent every step of the way. But once I started to really ensure everything was kept cold from start to finish, I felt my sausages became restaurant quality. For this recipe, that attention to detail started with sticking my meat grinder in the freezer along with a sheet pan with the cubed pork shoulder, beef chuck, and fatback to all chill for an hour before moving on to the next step.
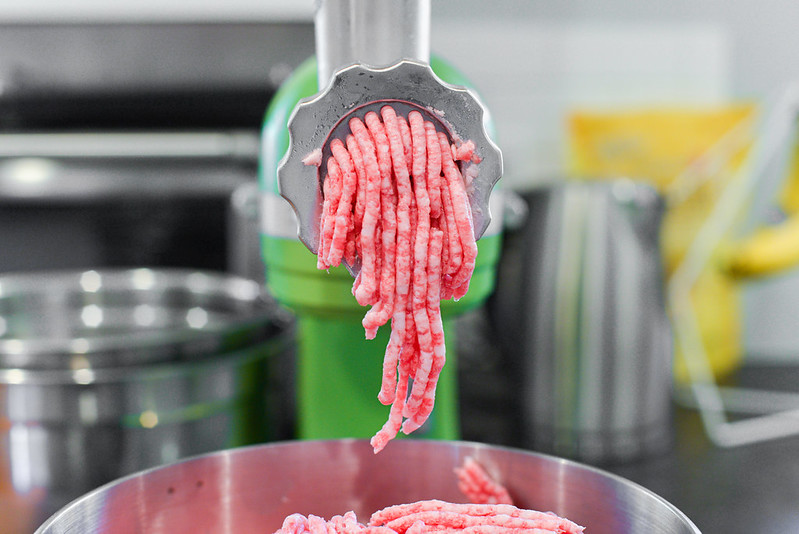
And that step was grinding all of the meat. Jalapeño and cheddar sausage is not a singular thing, and I've experienced it with different meat varieties and and textures, so I had to pick a direction and just go with it for this recipe. For the meat, I opted to go with a fifty-fifty split between pork and beef, and for texture, I opted for a smooth and emulsified finish. To get that, I sent the meat through the grinder using the small cutting die to get a fine texture to start with.
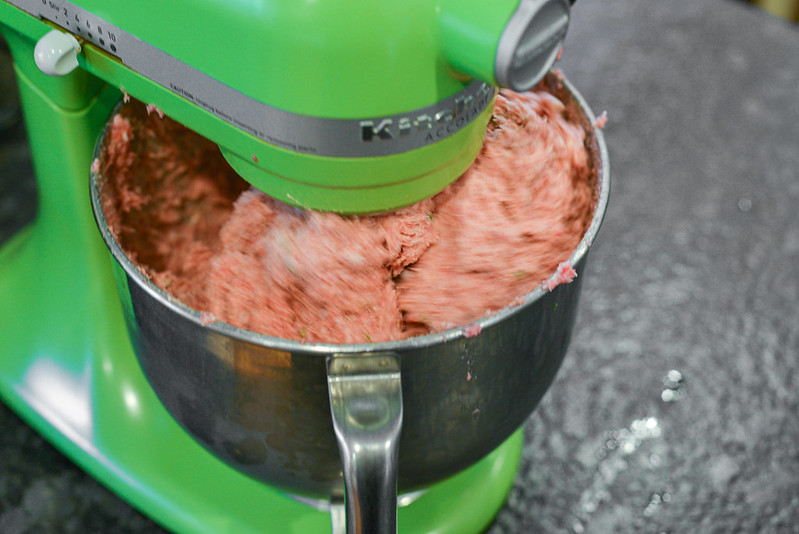
Then to really smooth out and emulsify the meat mixture, I let it take a spin in the KitchenAid after adding in the seasonings, jalapeños, and ice water. This five pound recipe was the upper limit for my KitchenAid size and the meat overflowed the bowl at times, but after a few minutes of mixing on medium speed, I seemed to have gotten the fine and homogeneous mixture I was shooting for.
The only thing I hadn't added in yet was the cheese, and that was because I wanted to ensure it remained in the quarter-inch cubes I had cut and not break down further than that. A lot of recipes will call for high-temp cheese, whose higher melting point is well suited to remain intact in sausages that will reach 165°F or higher, but I didn't think ahead enough to place an order for this specialty cheese and instead picked up a Tillamook sharp cheddar from the grocery store because this brand doesn't melt quite as fast as other from my experiences using it.
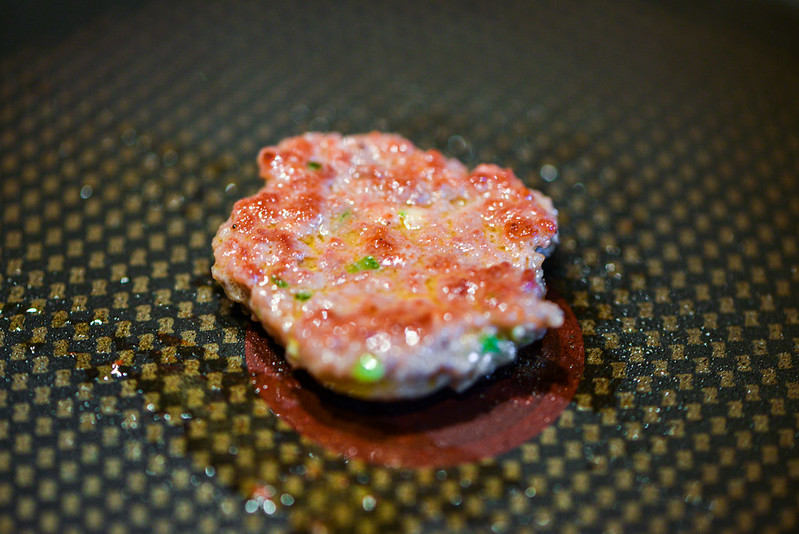
Before stuffing the meat into casings, I always break off a piece and fry it up to ensure the seasonings are hitting right. This was the second of two small patties I fried up after the first one let me know that I needed to up the salt a bit.
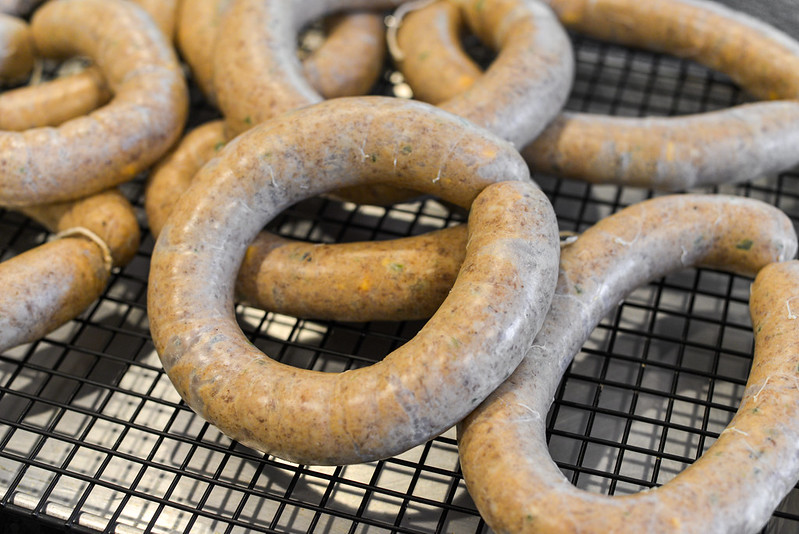
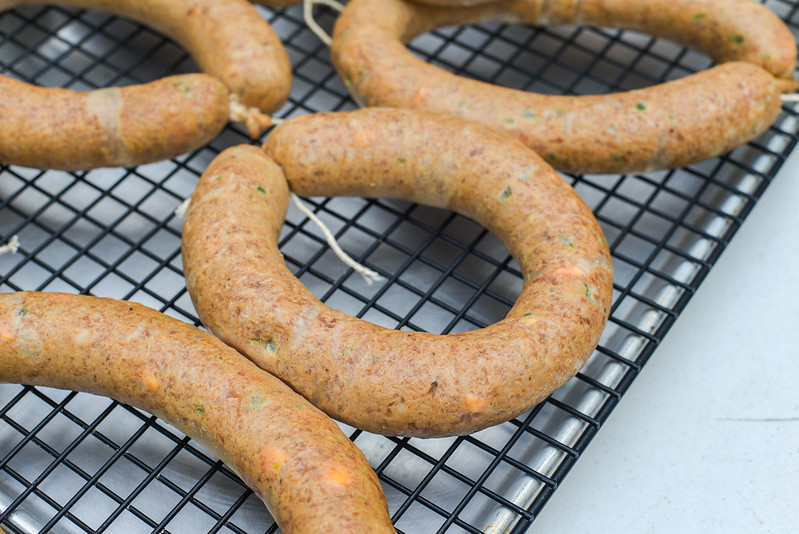
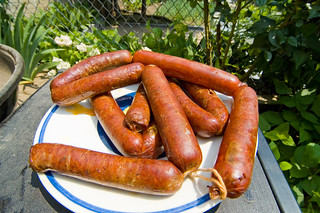
Once happy with the seasoning, I stuffed the meat into hog casings using my vertical stuffer, which makes quick and easy work of this task. What was difficult for me was tying off the links. I usually create the standard links that I form by twisting the sausage about every six inches or so, but this time I wanted to make the long circular links that are common to get in Texas barbecue joints. I thought this might actually be easier, but I didn't leave sufficient room for tying on my first few attempts, although I was able to correct corse as I learned. What I ended up doing was creating about a two to three inch meat-free space at about 18-inch intervals, which gave me enough room to tie the links close with butcher twine and also have room to cut between them without the links slipping open.
The next step was to air dry and let the links cure for a bit in the fridge. I did this by placing the sausages on wire rack set in a sheet pan, and placing the entire thing in the fridge. You only need overnight to air dry the sausages, but since there's curing salt in this recipe, you can let them sit for a few days and they'll be all good. I made these sausages about a day and half before cooking and they became dry and turned a deeper brown color while they cured in the fridge during that time.
Since I had my Weber bullet running already with plenty of room, I just tossed these sausages in there to smoke at 225°F with pecan wood chunks on the fire. I was shooting for an internal temperature of between 155 and 165*F, which took about one and half hours for them to reach. Once done, I placed the sausages in the Cambro to stay warm so I could slice and serve as needed throughout the Meatwave cookout day.
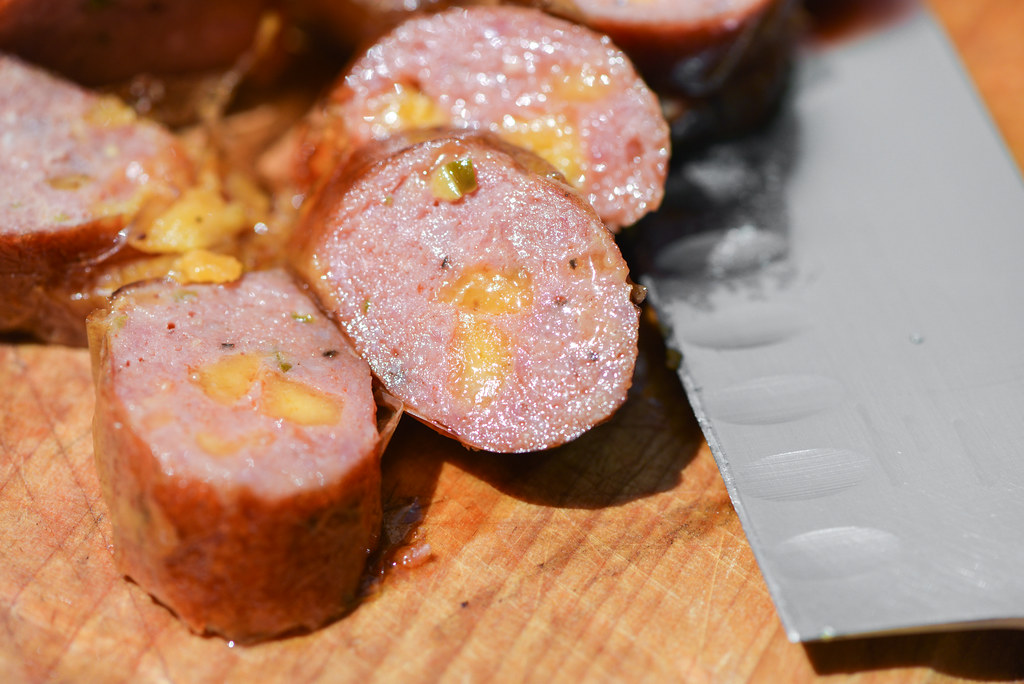
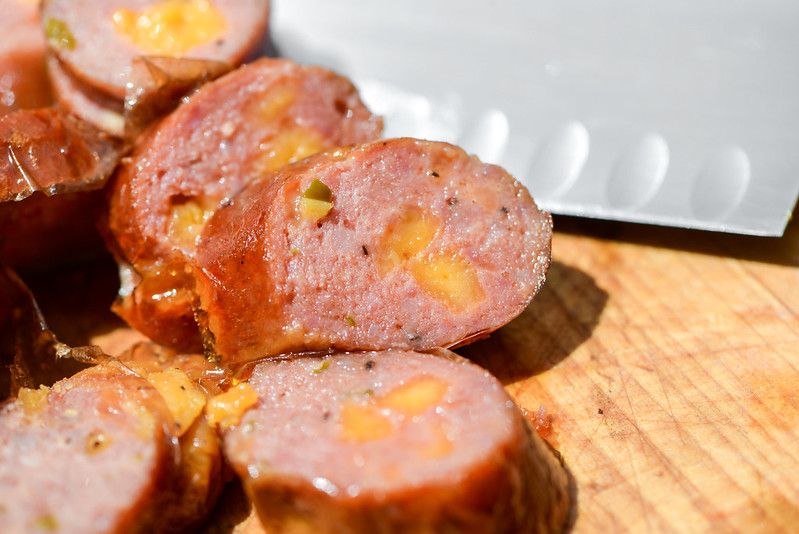
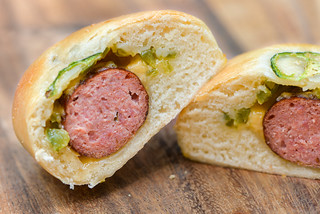
To me, these sausages were nothing short of a triumph. When I first attempted a similar recipe ten years ago, I was certainly pleased with what I made and I just kind of thought restaurant quality sausages were not in reach of my home cooking skills, but this version proved my old self wrong. The texture of the sausage was great, with a smooth constancy and a nice chewiness against super juicy meat. The seasoning was also pretty spot on with the fruity jalapeños being upfront and bits of cheese adding complimentary sharp and creamy bites throughout. The rest of the seasonings backed up those two primary players quite well with a light garlicky touch, a little earthiness, and noticeable, but not overwhelming, smokiness. I knew my crowd was not going to eat all five pounds of sausage, which was fine by me because I now have a couple leftover bags of sausages in the freezer to make more things out of—jalapeño cheddar kolaches are on the menu soon!
You Might Also Like
Comments
-
Gus If you don't use curing salt, would it be safe to leave them in the fridge overnight then cook them up?
-
Josh @Gus Yup, they would be fine overnight in the fridge without the curing salt.
-
CJ Made 8lbs of these. I appreciate you taking the time to share this process with us.
-
Corey L THANK YOU for this recipe! Ive been struggling for years with subpar equipment. Ive recently upgraded and retried this recipe....
WOW! -
Mark Can you email this to me? I don’t know how to share it to myself
