Rotisserie Turkey

It should come as no shocker that I like playing host. While my Meatwaves serve as my primary outlet to fulfill that desire, it's always been a little hard to deal with the fact that I could never truly transfer my hosting skills to larger family gatherings at holidays. This was originally due to very limited indoor space in my old Astoria apartment, and then was a problem of my own making when I moved to North Carolina, resulting in isolation from my extended family. For the first time though, this Thanksgiving is different. Family from New York, Virginia, and Texas are all descending upon Durham to partake in our largest holiday feast yet. I originally had a lot of excitement about this development, but that was followed by the realization of the complications it creates when cooking for a crowd when all the food needs to be done at the same time. This will render my oven space inadequate and will force me to consider other means cooking, which is really no problem at my house since I have a couple grills and smokers on hand. Moving in that direction made me consider reviving this rotisserie turkey recipe I made almost eight years ago and never shared on the blog mainly because I didn't feel the photos were up to snuff to my standards. So you'll have to pardon the less than ideal images and know this was a turkey so great that I feel it's a worthy contender to create a best in show bird for my forthcoming large family meal.
Back when I first made this turkey, I was still into my wet brine-everything phase. I've since abandoned that due to the space it requires and finding that a combination of dry brining and cooking the meat to a lower temperature produces much better results. Unlike a wet brine, which requires a large vessel that is often a challenge to fit in the fridge, dry brining is much easier with the turkey just set on a wire rack or in a roasting pan and seasoned liberally with salt all over. It is then set in the fridge overnight to a day to allow the salt to expel, and then reabsorb, liquid from the meat, concentrating the natural turkey flavor. During this time, the exterior of the bird also dries out, which aides in quicker better browning overall.
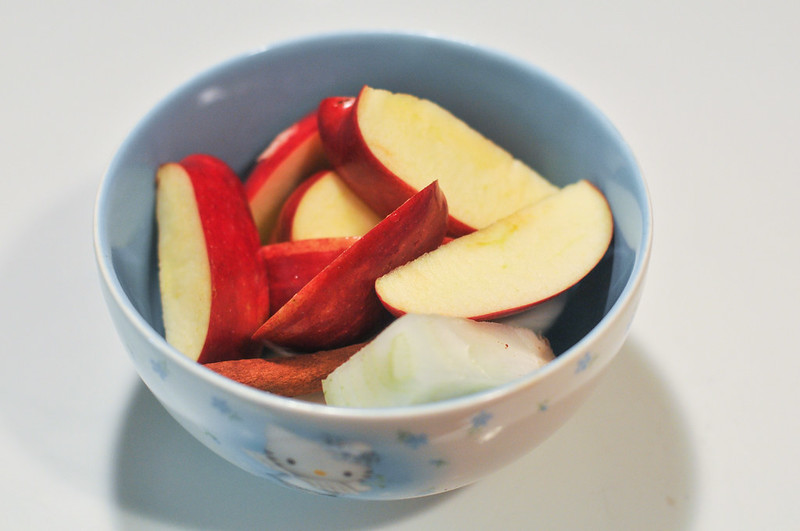
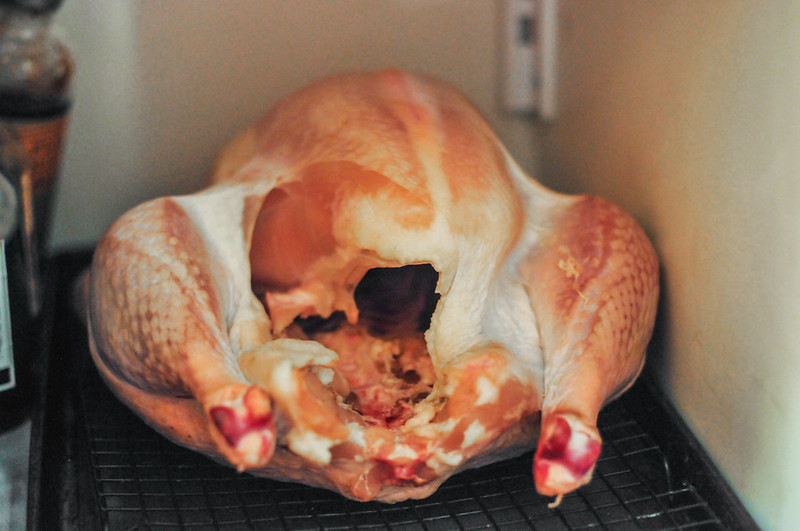
When I first made this recipe, I was also into a method I picked up from Alton Brown, which involved adding aromatics into the cavity of the turkey. In this case, those were comprised of an apple, onion, cinnamon stick, rosemary, and sage. I'm not sure if this really imparts much, if any, flavor on the meat, although it probably helps make the dripping more tasty. I haven't used aromatics like this in a long time, but since the original recipe had them, I kept them in and they certainly won't hurt and definitely makes things smell all the more mouthwatering during cooking.
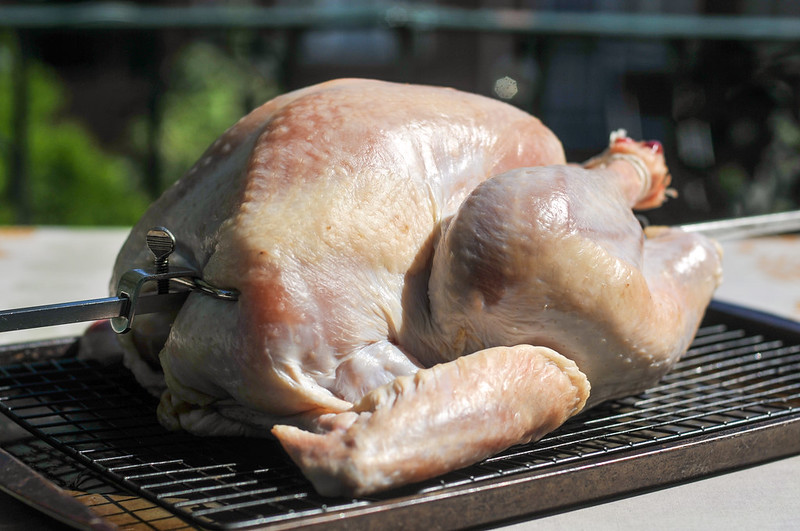
After securing the aromatics in the turkey's cavity by sealing the flaps of skin from each breast together with a skewer, I then ran the spit through the carcass and secured the bird to it using rotisserie forks.
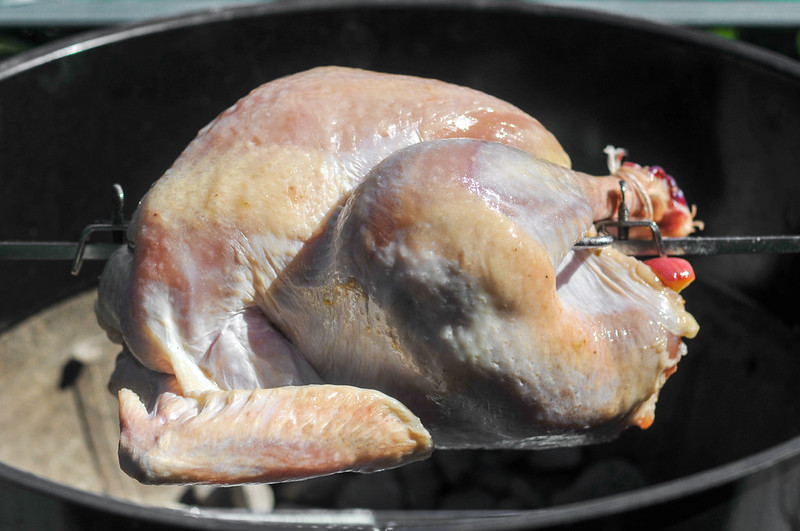
I then got my fire going, using an entire chimney full of charcoal and placing the lit coals in two even piles on each side of the charcoal grate. I then nestled a foil tray between the two stacks of coals to catch any drippings—whether you want to use this somewhat smoky, and often ashy, liquid that's collected is up to you. I then set the spit on the rotisserie and started the bird rotating.
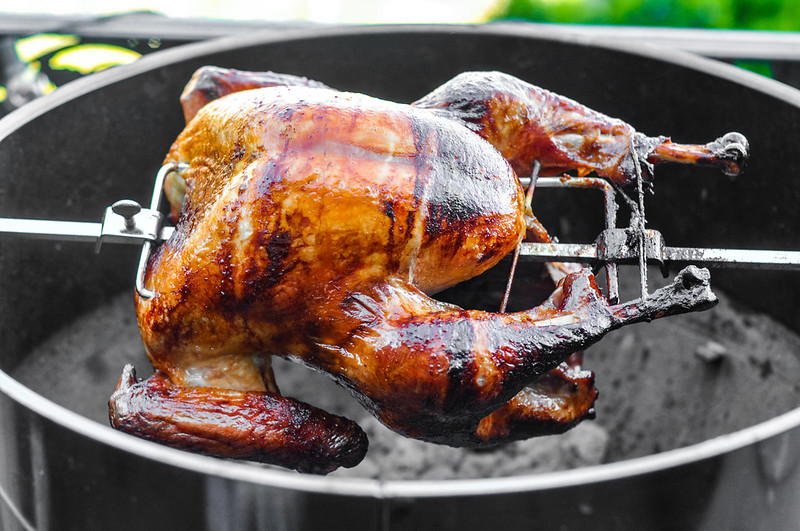
A twelve pound specimen like this one will likely take less time than you may think. With the high heat outputted by charcoal, you may only be looking at about 75 minutes of cooking time. Depending on your fire and weather conditions, you may or may not need to replenish the coals during the cook, so it's a good idea to start monitoring the temperature in the grill about 40 minutes in and get another batch of charcoal going if it looks like you may need it to get the beast over the finish line.
Really, the biggest positive change I've made from cooking turkeys eight years ago to today is only cooking them until the breast meat reaches 145°F. I used to go to 155-160°F, but with some extra resting time, the lower temperature is as safe for consumption as the higher one, and results in meat that's way juicier and more flavorful.
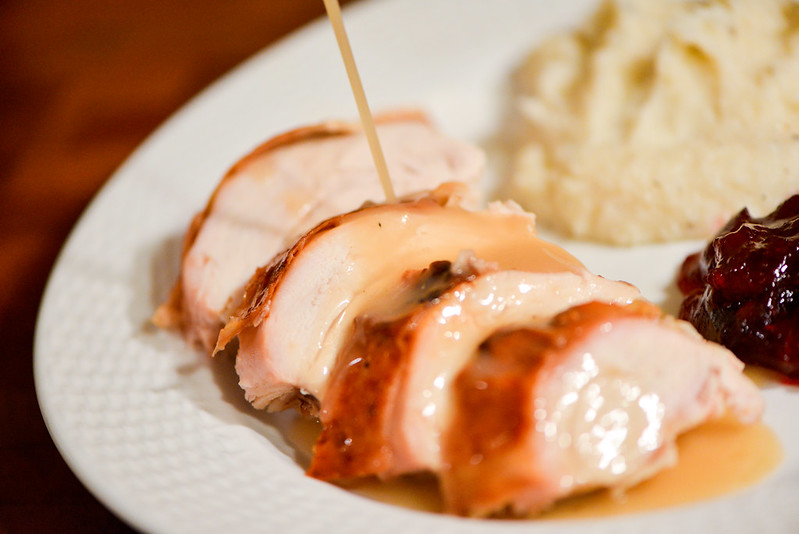
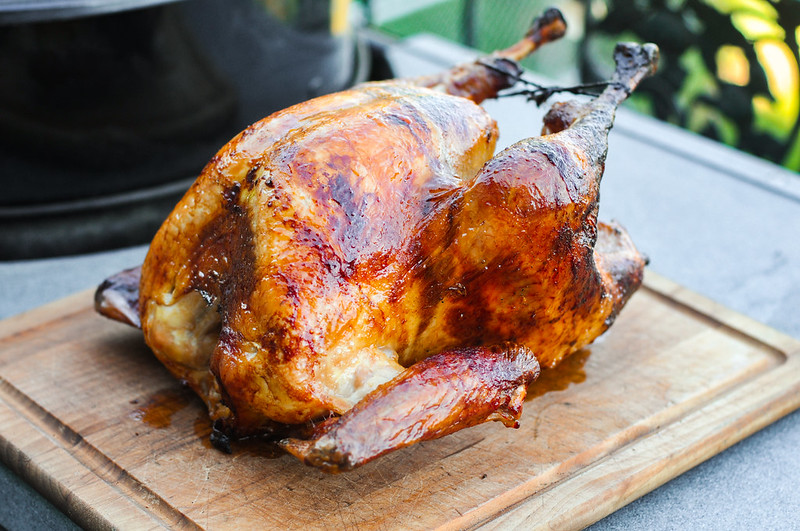
And the meat from this bird was as juicy and flavorful as could be. Not only did I get a great natural turkey taste, but the grill added a nice light smoky enhancement, while the rotisserie had the exterior constantly basting in its own rendering fat, meaning super amazing skin. It may have taken me a long time to finally say, "Screw the crappy photos, this is a recipe worth sharing," but sometimes you just need a life event like preparing for a giant family Thanksgiving meal to push you into action, and hopefully the birds that adorn all of our holiday tables are as delicious as this one was. Happy Thanksgiving to all!
You Might Also Like


Comments
-
Daniel Coleman Hey Josh,
I've honestly never posted/asked anything on a recipe so this is new to me. I have my Weber and rotisserie attachment. I've done several chickens but never a turkey. I'm trying this for a test run before hosting thanksgiving for my entire family and had a couple of questions. (Want to make sure I don't F it up haha) I'm very familiar with everything just wanted to ask if you leave both vents open to try and keep it around 375-400 degrees and if your pour coals/wood chunks on both sides with a drip pan in the middle or just on one side. Mostly curious about kettle temp and configuration of coals. And also when you take it out with the breasts at 145, what temp does it normally reach from resting? Sorry for all the questions and appreciate any advice!
Daniel -
Josh @Daniel Coleman I arrange the coals in two piles on either side of the charcoal grate with a drip pan in the middle. I adjust the vents throughout the cook to try to maintain the temperature--are first they may be partial closed, but then usually completely open by the end of the cool.
The final temp of the meat will rise about 5 degrees from when you pull it, but at long as the turkey rests before serving, there shouldn't be concern of bacteria (most bacteria die instantly at 165 degrees, hence food safety guidelines, but at 145 degrees, it takes about 8 minutes for bacteria to die, so a combo of carryover cooking and resting accomplishes the same thing as cooking to a higher temperature). -
candy you make them look really cool. I'll make this, hope it works. Thank you for your detailed instructions.
candy crush saga -
T Stewart How "enclosed" is the turkey here? Are you putting on a lid and/or using refelctive heat at all? Can you do this open air just over a fire pit?
-
Josh @T STEWART I kept the lid on most the time while cooking, but you can do it open air, you probably will just need to add some cooking time and replenish the fire more often.
-
T STEWART Checking back in. I did this last TG and it was amazing. Big (36") steel open fire pit with almond and peach wood. Set the turkey offset so it was not directly over the flames. about 2.5 hours for a 17 pound bird. Nice smoke flavor, perfect skin, moist inside. Doing it again this year for sure but this time out in the wilderness.
-
Josh @T STEWART Glad to hear it turned out for you. Always good to have a go-to turkey recipe for the holiday.