Baltimore Pit Beef

This recipe for Baltimore pit beef has been a long time coming. It was on my radar as something I really want to develop a recipe for from my early days of cooking because it was somewhat familiar to me from past trips to Baltimore and also incorporated both my love for grilling and roast beef. I always kept it on the back burner though because I felt like I really needed a meat slicer to get the ideal thin and even cuts to get it right—I knew my lacking hand slicing skills would not be good enough. While in New York though, a meat slicer was not a practical purchase because the space it would require was never available in our apartment, then when I moved to North Carolina, I felt like I needed to be settled first before adding another bulky item to my kitchen. Well, it took over twelve years for the time to be right to add a meat slicer to my arsenal of tools, but it finally happen last winter when my mom gifted me a Chef's Choice model, and while some adverse weather put delays on earlier attempts to make Baltimore pit beef this year, it finally happen a couple weeks ago and the results were glorious.
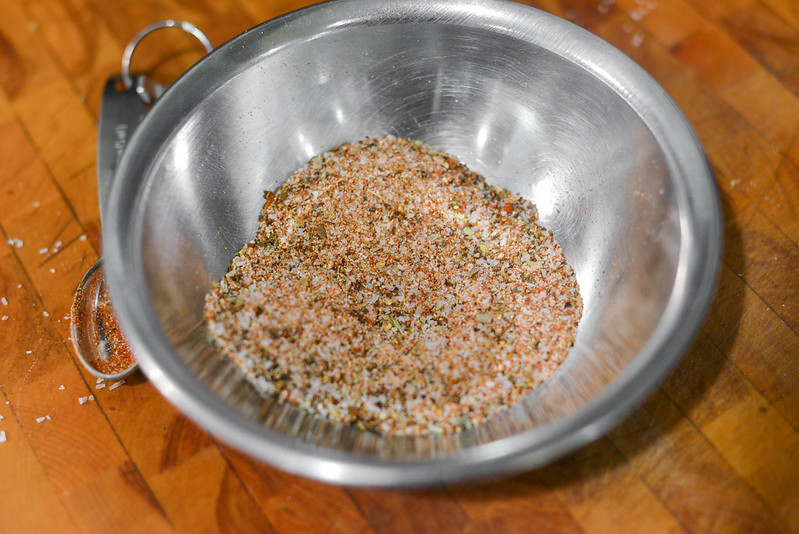
If you're not familiar with pit beef, it's basically Baltimore's answer for barbecue. It involves grilling large pieces of beef and then slicing them deli thin and piling onto kaiser rolls, usually adorned with sliced onions and a horseradish mayo. The seasoning tends to be minimal, and likewise, I devised a fairly straightforward rub with distinct barbecue influences to give the meat a bit of barbecue flavor, but not be too heavy handed at the same time.
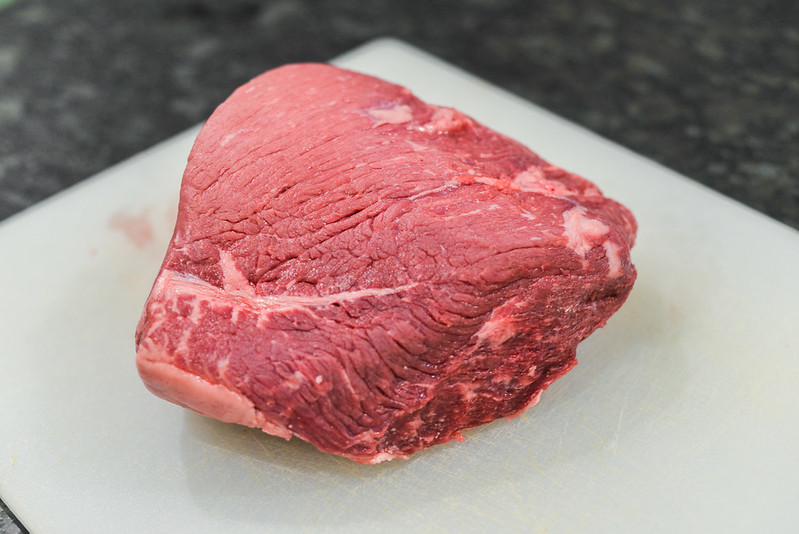
The cut of choice for pit beefs tends to be the round. Upon some internet recipe and YouTube research, bottom round appeared to be a favorite, so that's what I picked up here. It took me a few groceries to find a hunk of bottom round, and if I hadn't got my hands on this cut, I was about to use the easier to procure eye round and feel good about it.
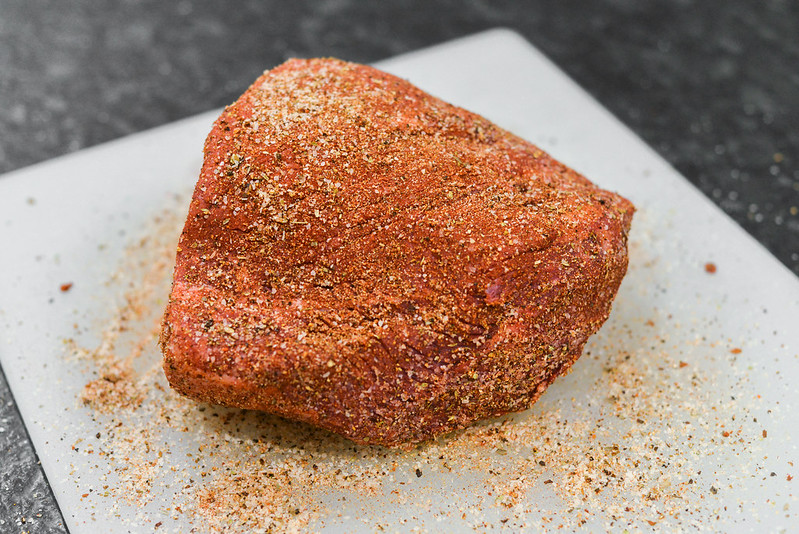
Although the rub was fairly basic, I did apply it heavily like I do with most of my barbecue. And then, as I do with most all beef I cook, I let it rest in the fridge to allow the salt to do its magic of enhancing the flavor. It takes a minimum of forty minutes for the salt to draw out moisture and then have it become reabsorbed, so plan for at least that long, but you won't go wrong seasoning the beef a night or few days ahead of time.
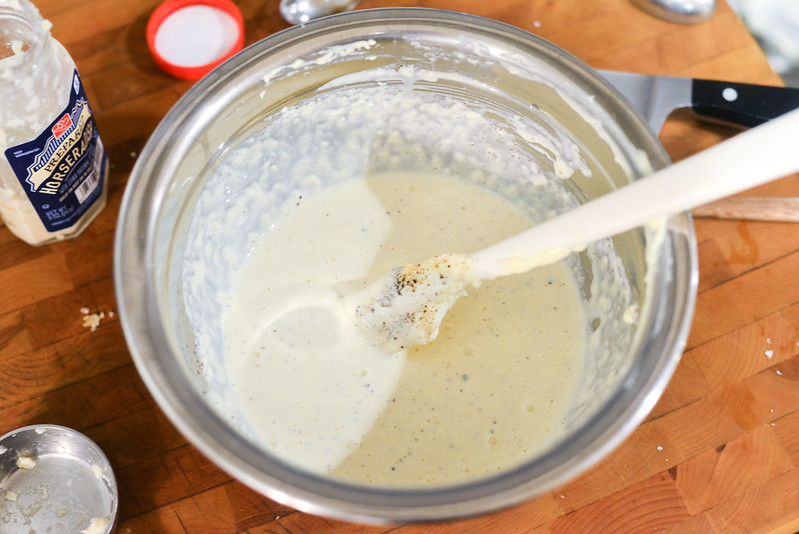
With the beef resting, I moved forward with putting together the sauce, which you'll often find called Tiger sauce in Baltimore. It's a primarily a combo of mayo and horseradish, with the horseradish added to taste. I started mine off with a cup of mayo and a quarter cup of horseradish, and it lacked the sharp bite I was after, so added in the rest of the jar of horseradish to make it a full half a cup. That delivered the heat I personally like, but the sauce needed some more character, so I added a splash of lemon juice and some minced garlic, along with a seasoning of salt and pepper.
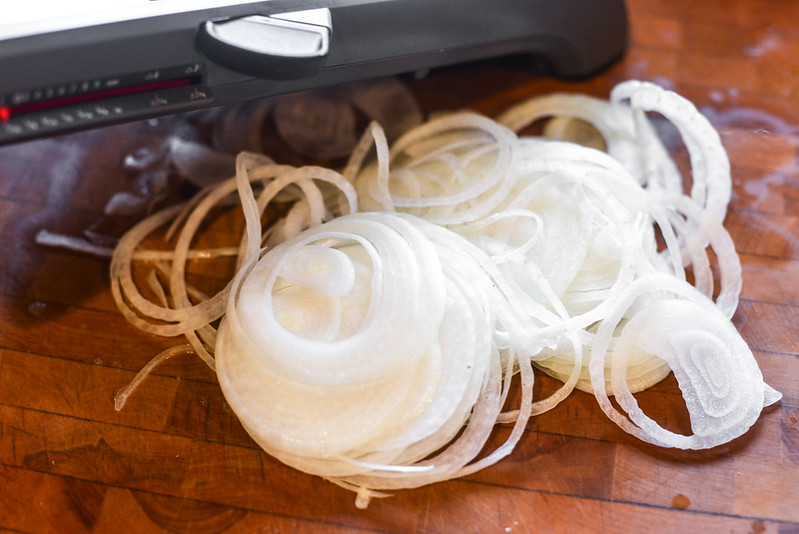
The other required topping was onion slices, which I opted to go with the sweet variety and just sliced it thin using my mandoline.
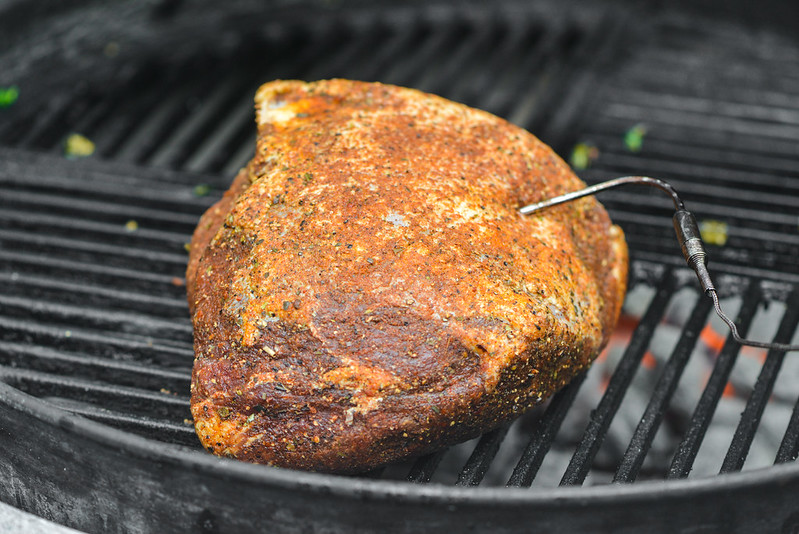
The usual pit beef will be mostly grilled over direct heat, but I've been having good experiences with the reverse sear, so took a slight deviation from authenticity here. Reverse searing is when the meat is first roasted over indirect heat, then seared over direct heat at the end. The benefits to this are more even doneness from edge to edge and better searing, since the exterior of the beef will already have lost a lot of moisture before its seared.

I like my roast beef rare, so roasted the beef over indirect heat until it was ten degrees shy of the final 120°F mark I was shooting for. I had a leave-in thermometer so I could measure how things were progressing throughout the entire cook, then did a double check with my Thermapen once the beef reached temp. The entire roasting portion took a little under an hour.
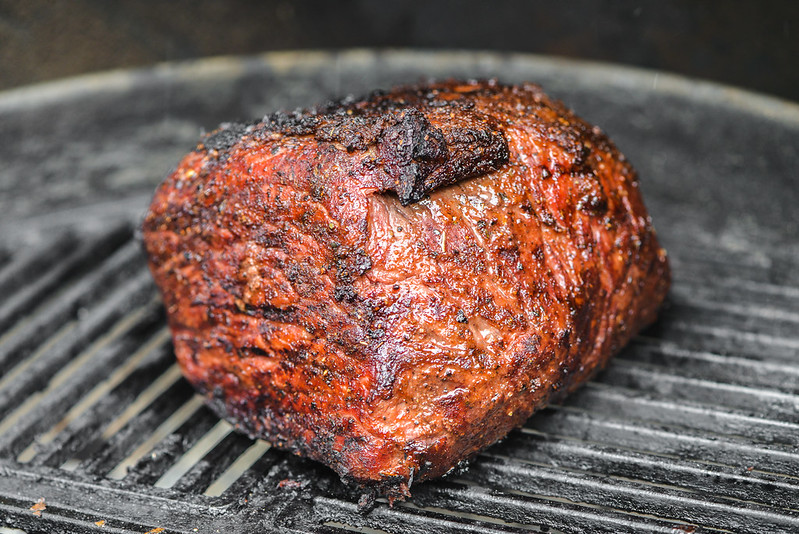
The fire wasn't blazing hot at this point, but the beef was already pretty brown on the outside, so even a fire running around medium temperature was sufficient to transform the golden brown beef into a deep crusty brown without taking too much time. It took about ten minutes total over direct heat to finish the meat up, with me rotating the beef about every minute for the most even searing. Once done, I wrapped the beef in foil and stuck it in the Cambro until it was serving time.
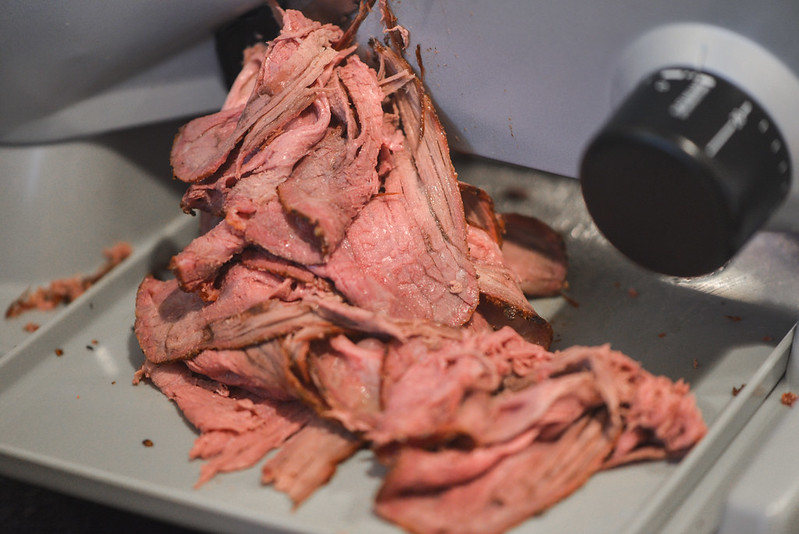
I think I made a folly in wrapping the beef too soon, because despite my compulsive attention to temperature, the meat was more medium-rare to medium when I went to slice it, which meant it continued cooking for awhile after coming off the grill. Luckily, it was still plenty juicy and crazy flavorful. I was so happy to be able to take this hunk of beef to the slicer and cut it into the necessary thin cuts needed to make a great pit beef. I couldn't get the slices quite as thin and even as I was hoping though, realizing I'll need to swap out the included serrated blade for the non-serrated for more optimal slicing in the future.
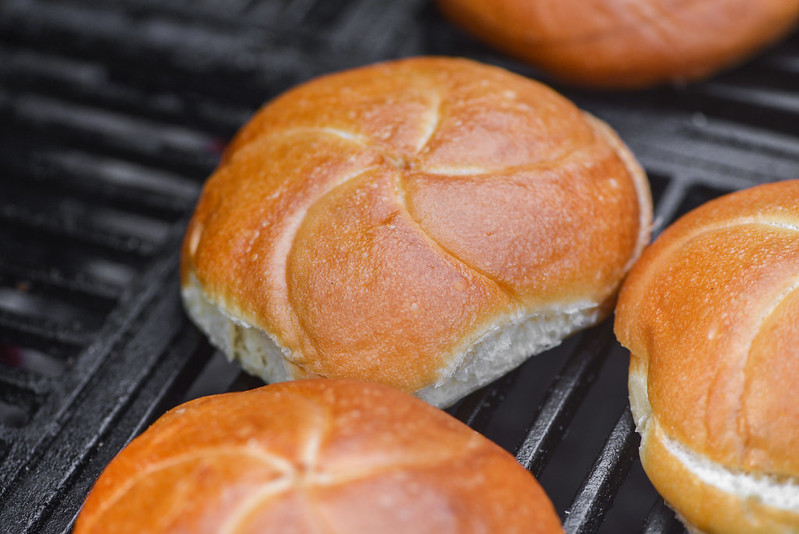
Right before serving, I quickly toasted my kaiser rolls because warm bread is always better. Then I just stacked generous portions of beef in each roll and topped with the onions and tiger sauce before serving.
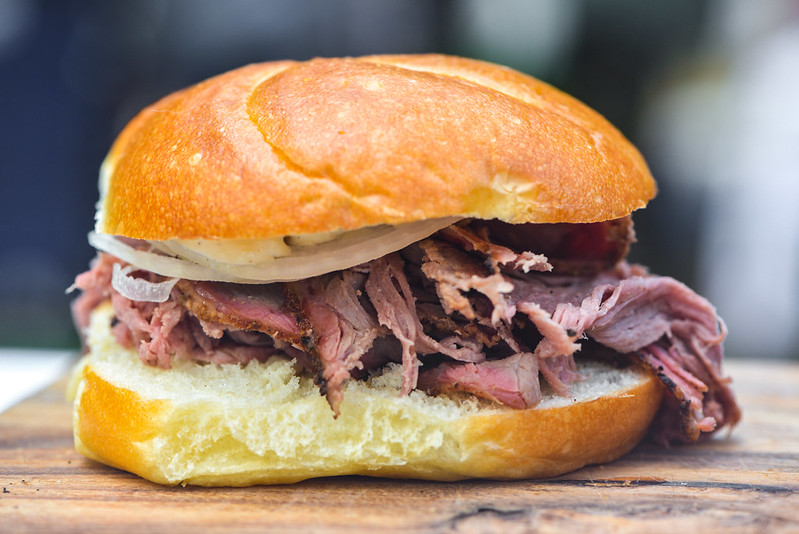
Not sure if the over a decade long wait influenced my opinion here, but I think this was some of the finest roast beef I've had. Yeah, it was a little more cooked than I was hoping for, but the flavor was immense. Although not smoked in the traditional sense, there was a great smokiness to the beef that, when paired with the spiced exterior, gave it an excellent barbecue profile. With the meat sliced so thin, there was little question that it would be super tender and easy to bite through, both important qualities for a great roast beef. Then take all that goodness and add on top of it one killer sauce with an amazing strong horseradish bite, along with the crunchy and sharp onions, and you can taste that Baltimore knows what it's doing with its barbecue, whether it falls into any preconceived definition of the word or not. Now that I finally have the meat slicer and one good execution of pit beef under my belt, I hope to just keep making more of it and improving along the way.
You Might Also Like

Comments
-
Eric What kind of meat slicer do you have?
-
DJO What temp are you cooking at? 225-300?
Thanks! -
Josh @DJO Closer to 350 degrees for this.
-
Stephen Engelhardt Just cooked this up, AMAZING!!!!
-
Kelvin The roast beef was excellent %uD83D%uDE01%uD83D%uDE01%uD83D%uDE01if you have not tried the recipe I would recommend it
-
Tim Sous vide 131° for 30 hours, finish on the grill to get char.