Buldak (Korean Fire Chicken)

Buldak, aka: fire chicken, has been on my radar to try for a while now. Anything with a vast amount of gochujang—Korean fermented spicy red pepper paste—is destined to win my heart, but one of the few places near me that serves this dish specializes in Korean fried chicken, and the draw of those extra-crispy, twice-fried wings that I don't get all that often always overtakes my desire to try something new, and I've consistently left buldak as something that I'll get "next time." Being under a stay-at-home order for a month now has afforded me lots of opportunities to try dishes and recipes I've always wanted to, but have never acted upon, and luckily fire chicken made it into the mix.
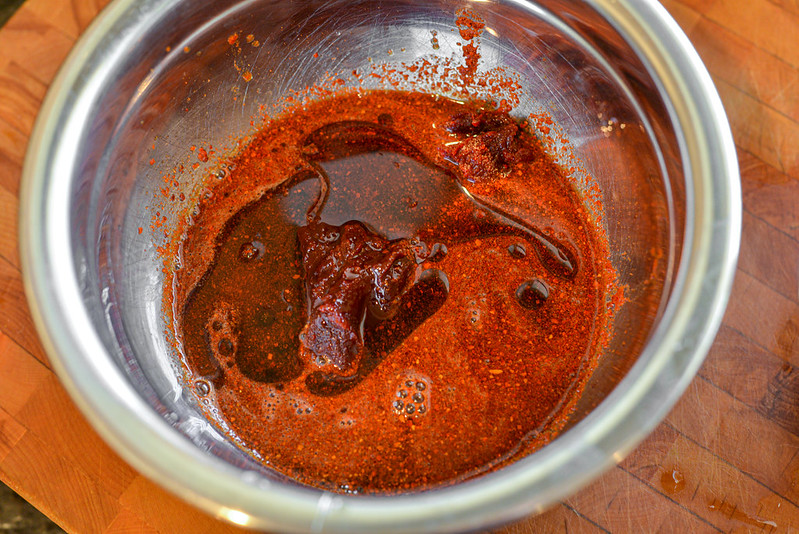
Not having had this dish previously, I looked for a recipe that I trusted and sounded delicious, and the one on Serious Eats by Sasha Marx seemed like it fit the bill. At this point in my cooking career, I tend to almost never take a recipe from one source and repost it nearly unaltered, but this was so good that I was left with no real need to change much, but I still really wanted to share it out my excitement for it. As I said in the intro, anything with gochujang is right up my ally, and this recipe started off with a 1/4 cup of the stuff, plus an added spicy boost with another 1/4 cup of Korean red pepper flakes along with soy sauce, chicken stock, rice syrup, and sesame oil
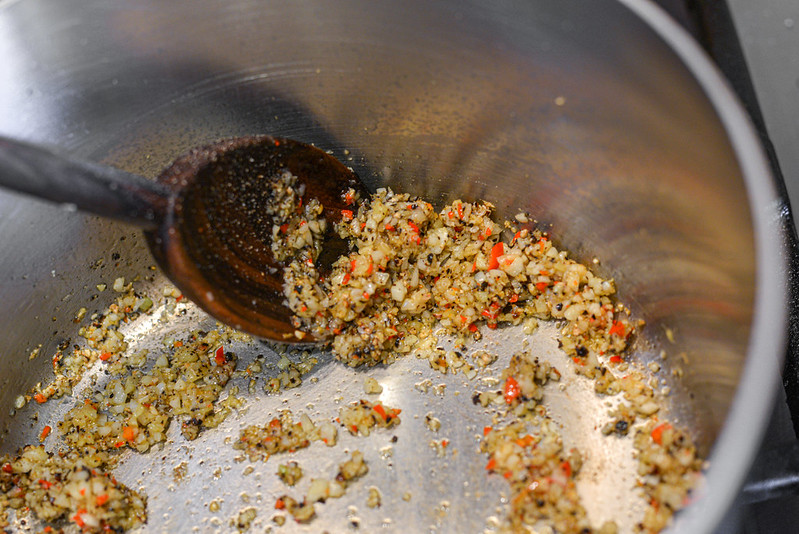
To add to that spicy foundation, garlic and ginger were sautéed until fragrant, followed by a couple chopped up Thai red chilies and black pepper. Once all of those ingredients were aromatic, the initial sauce mixture was added into the pan, along with a cup of Sprite, and brought to a boil.
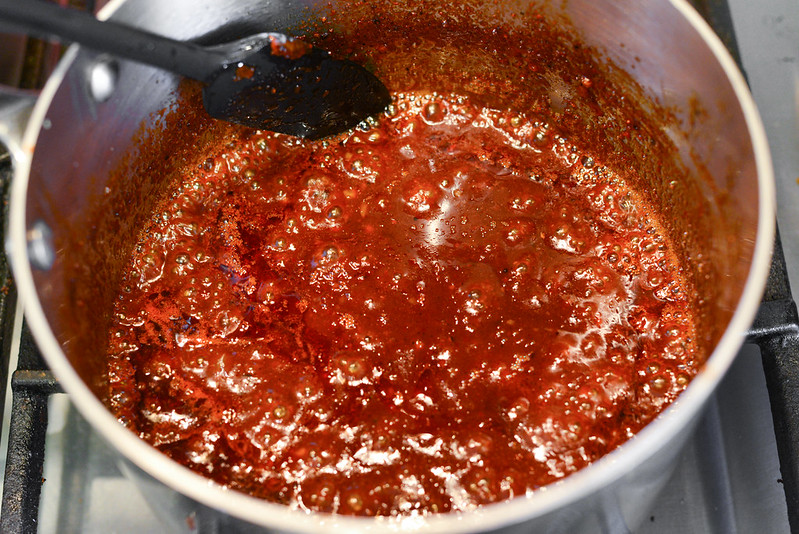
Kept at a pretty steady simmer, and with all of the sugars from the soda and rice syrup, the sauce didn't take long to reduce and become a glistening glaze. Once it was about half of its original volume, I removed the pan from the heat and let the sauce cool to room temperature.
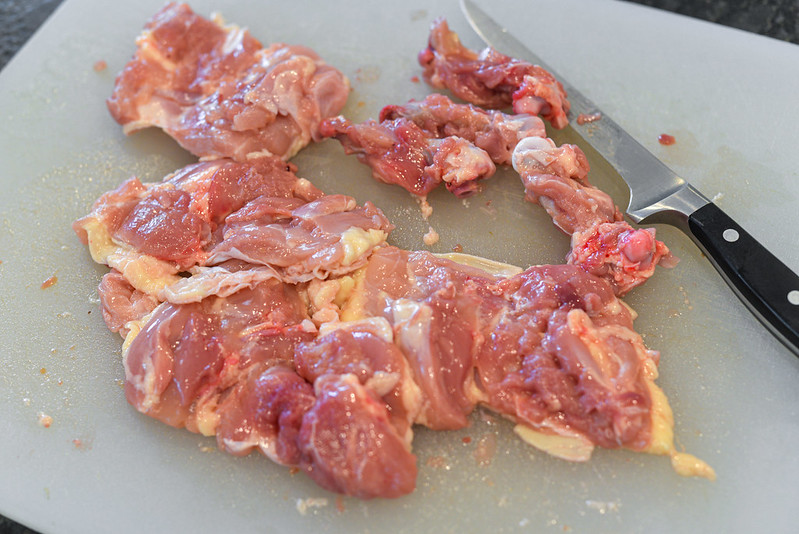
One thing I really liked about this recipe was that it didn't call for boneless chicken thighs, but instead said to buy bone-in, then de-bone it yourself in a rough fashion that left some of the meat on the bones. These bones would then be cooked and provide an extra treat to gnaw on in addition to the juicy and flavorful dark thigh meat.

Once I had the chicken prepped, I put it all in a bag and poured in half of the sauce. Then into the fridge it went until it was grilling time, which was the next day for me, but you can marinade it for as little as 45 minutes if you're working on a tighter schedule.

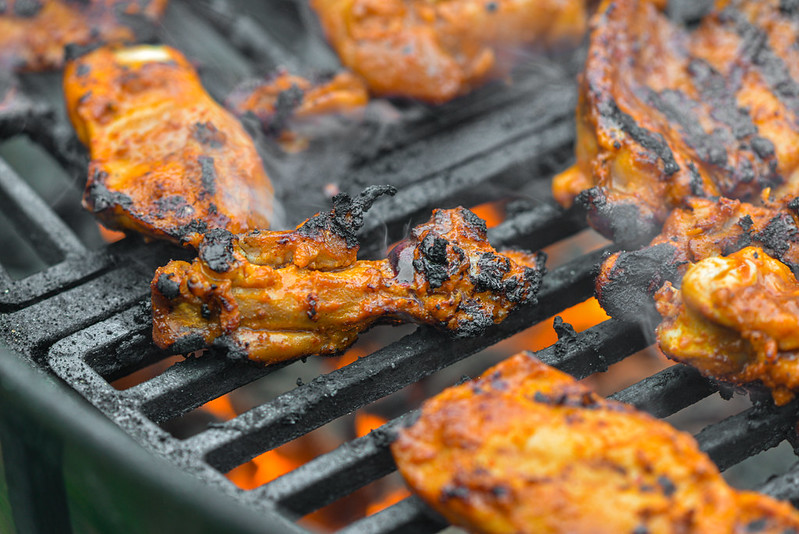
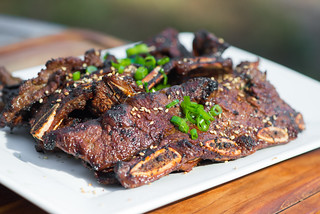
A hallmark or fire chicken seems to be a lot of char, which is accomplished easily by the combo of a hot fire and the sugar-heavy marinade. After I had a batch of coals freshly lit, I put the chicken directly over the fire and let it cook until well charred, flipping occasionally and moving the chicken pieces around as flare-up happen, and they will happen as the fat renders and drips onto the coals.
After about ten minutes, all of the thighs looked beautifully charred and mostly, but not entirely, cooked through. The next step was to cut the thigh meat into smaller, bite-sized pieces using kitchen shears, and this is really the only place I changed up the method of the recipe at all.
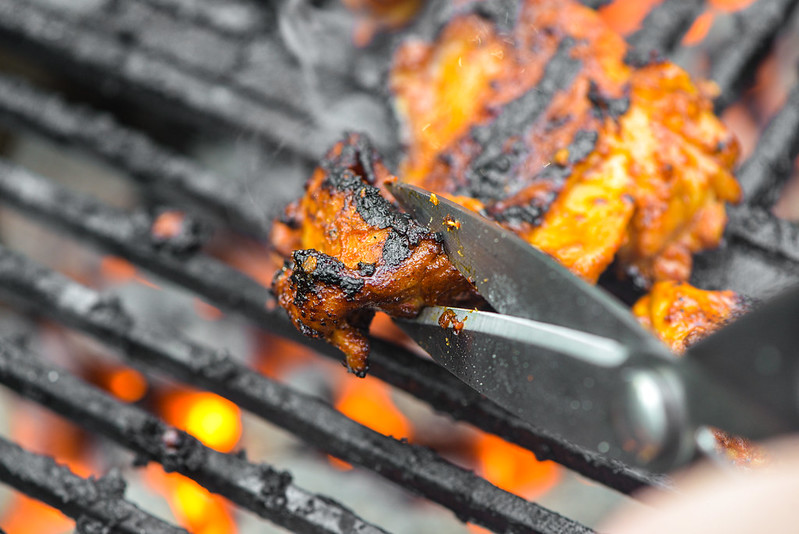
At first I was trying to cut up the chicken over direct heat, but I was moving too slow and the fire was too hot, causing multiple difficulties in completing the task. So after struggling for maybe 30 to 60 seconds, I moved all the chicken over to the cool side of the girl and cut it up where it was easier to manage and I didn't run the risk of over overcooking the meat.

After I got all the chicken cut up and it was still over indirect heat, I brushed on the remaining sauce so every piece of chicken had a new layer of that spicy coating. Then I moved the chicken back over direct heat to allow the newly applied sauce to caramelize and char, which only took a couple minutes, then I moved the chicken to a 10-inch cast iron skillet.
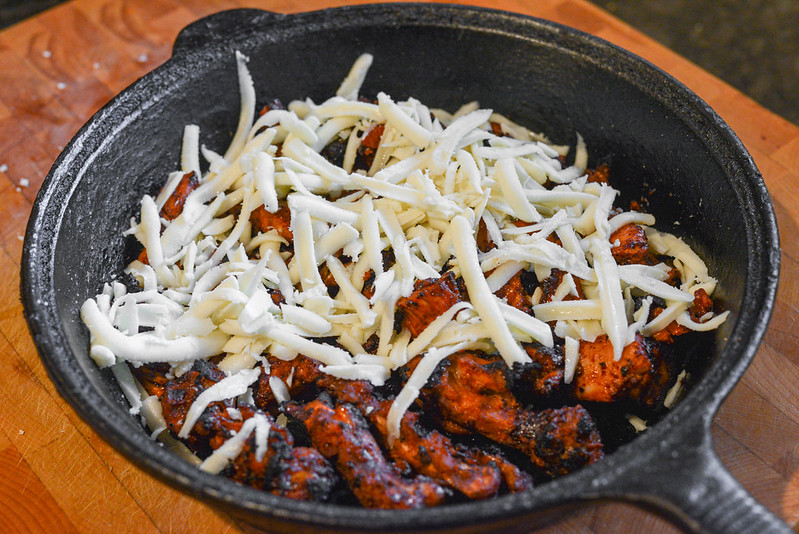
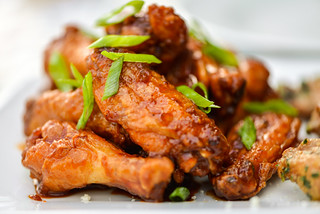
The cooking venture then moved indoors where I topped the chicken with grated low-moisture mozzarella and stuck the pan under the broiler. Once the cheese was bubbly and starting to brown, I took the skillet out and finished up the dish with a garnish of scallions and toasted sesame seeds.

This fire chicken was everything I always thought it would be, and maybe even more. First and foremost, it was spicy, and I love spicy foods, but this wasn't just hot for hot's sake—you could taste the layers of peppers from the unique fermented flavor of gochujang to the chili powder to the fresh and spicy Thai peppers. The heat wasn't totally mouth scorching though since it was tempered by the sweet soda and rice syrup, and then further contrasted by the creamy mozzarella. Where things got even better than I imagined was from the immense savoriness that was combination of the soy sauce and charred bits, that later imparting that heavy grilled taste that I'm a sucker for. In the end, I felt a strong satisfaction in preparing this dish myself, so maybe it's a good thing I made this at home instead of ordering it at a restaurant—now when I continue to choose the fried chicken over buldak at restaurants, I'll have comfort in knowing I'm not missing anything now that I have a great recipe for fire chicken I can make anytime I want at home.
You Might Also Like
Comments
-
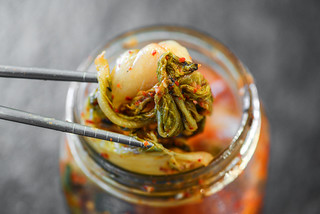
Jim Erskine Thanks for the recipe. Can't wait ti try it. Maybe with some Kim-Chi. Thanks again for your expert photography and your time to compose this work of art. Not laying it on too thick am I ? LOL thanks