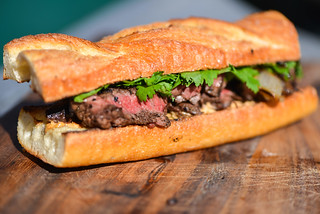
Beef & Cheddar Sandwiches

I grew up with a mother who had a soft spot for fast food roast beef sandwiches, so it's no surprise that I also have an engrained fondness for this staple, and marrying someone who shares this love means it's steadily remained in my diet, and will likely do so for a long time. As much as fast food roast beef will always provide me with a level of comfort, I can still admit that they're really not all that good. That got me to thinking, what would a true beef and cheddar sandwich taste like, one that starts with a whole beef roast cooked medium-rare on the grill, that is then topped with a real cheddar cheese sauce, and a spiced ketchup made with ingredients you can pronounce—well the result is these incredible homemade beef and cheddar sandwiches.

I'm going to start off this recipe with the end, which is the spiced ketchup. I'm sure you know what sauce I was thinking about when devising a recipe here, but I wanted to make something that tasted more than a way to market watered down ketchup. I started with taking a few things out of the cupboard like Worcestershire, hot sauce, and onion powder and started mixing those in with ketchup until it began to taste right. There was something missing though, and the addition of garlic salt filled that taste gap very well. Then the whole thing was a bit too thick, so I ended up thinning the consistancy just a bit with water, which didn't end up having any negative impact on flavor overall.
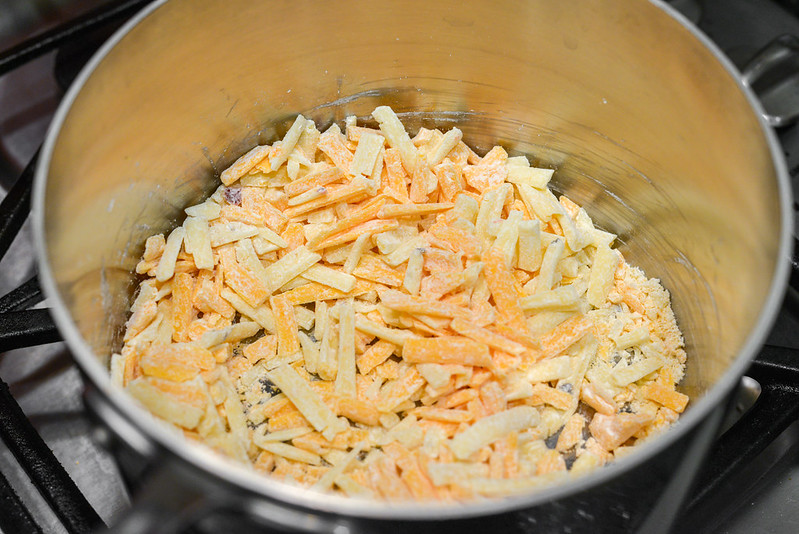
Next up was the cheese sauce, which I used a method I learned from Serious Eats to put together. I originally was going to make it solely with a sharp cheddar, but going the homemade route allows for more creativity, so I decided to throw pepper jack into the mix as well to add a little heat to the party.
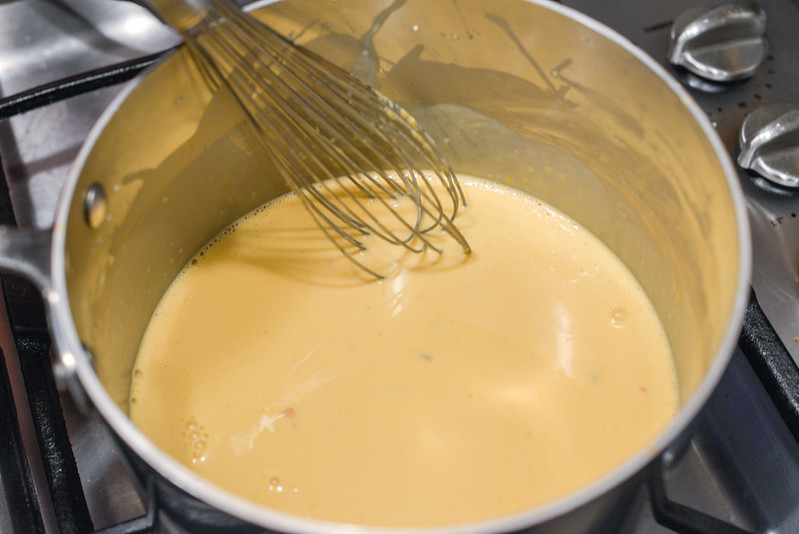
What makes this sauce recipe work is utilizing evaporated milk to keep the cheese from curdling, as well as cornstarch to get the right thick, but still spoonable consistancy. It takes about 5 minutes and constant whisking over low heat for the cheese to melt, bubble, and then thicken, so give the sauce the full time needed to reach the proper smooth and creamy, and not grainy, texture.

Now moving on to the star of the show, the beef! I picked eye round as my cut of choice here since I've made pretty decent roast beef with it before. It isn't the most flavorful of all the choices out there, but it's economical, and with the cheese and spiced ketchup, you won't be lacking for flavor at all—if you fo want to up beefy factor, you can go ahead and splurge on something like prime rib and it'll only make things all the better. To prep my eye round I first tied it with twine about every inch, just to help it keep its shape, but at the end of the day I realized that was pretty unnecessary because it was just going to be sliced up anyway, so left that part out of the final recipe. I then seasoned the roast liberally with salt and pepper, wrapped it plastic wrap, and let it sit in the fridge for an hour—the rest time here helps the salt do its magic extracting, then reabsorbing liquid from the beef, resulting in better moisture retention and a more concentrated flavor.

For grilling, I tried out these Kingsford Hardwood Briquettes that I procured from my usual charcoal source of The Home Depot. When I first took up grilling as a hobby, I was a purely lump charcoal guy, loving the high heat and clean flavor it produced. But over time I grew drawn by the consistancy and value of briquettes, and now I can't even remember the last time I bought a bag of lump. Kingsford Hardwood Briquettes offers a bit of the best of both worlds though—that high heat you get from lump, but consistency and long burn times briquettes excel at.

And they're not lying when they talk about the heat Kingsford Hardwood Briquettes outputs—I had lit a chimney full of them, but only ended up needing about half of that to get the medium heat, around 350°F, I was shooting for.
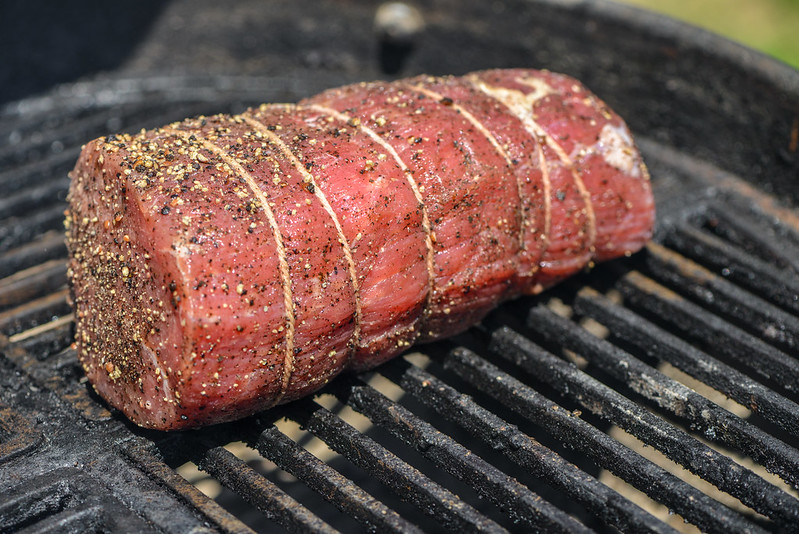
To cook the beef as evenly as possible, I arranged the charcoal in two piles on either side of the charcoal grate. I then set the cooking grate in place and rest the beef in the center, so it was positioned between the piles of coals, and not directly over the fire. I then placed a thermometer in the thickest part of the roast so I could monitor the temperature and covered the grill, situating the air vent over the beef so that smoke produced by the charcoal would flow across the meat before exiting the grill.
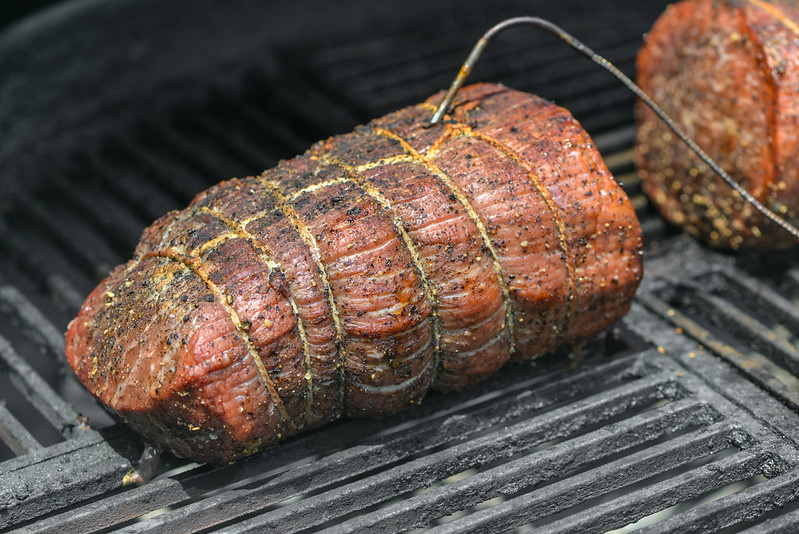
I was shooting for an initial temperature between 115-120°F during this first phase of grilling so the final roast would end with an ideal medium-rare range between 125-130°F. This took a bit under 30 minutes, at which point the charcoal was still burning strong so I could avoid refueling—one 12 pound bag of this stuff can last you about three uses.
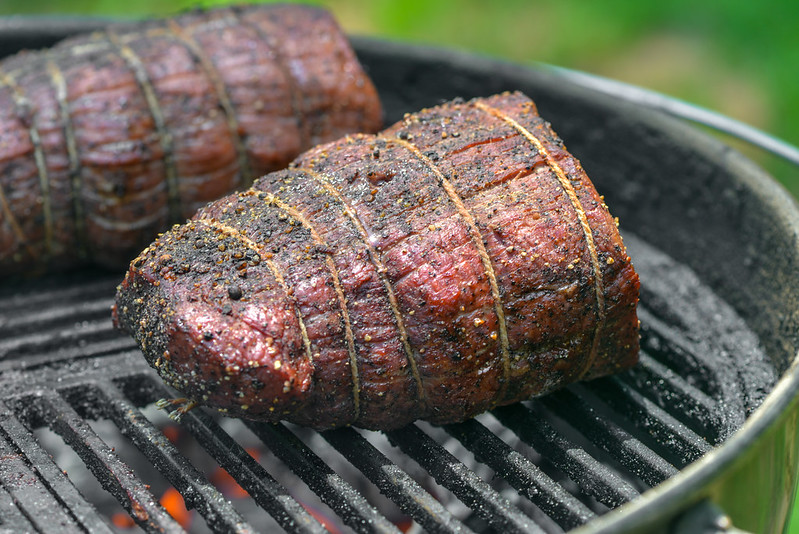
To get a good sear on the beef and bring it up to its destination temperature, I removed the thermometer and moved the beef directly over the coals. I then cooked it, turning it about every minute, until it developed a darker, crustier exterior, which took about five minutes total. Next I transferred the beef to a cutting board and let it rest for ten minutes.
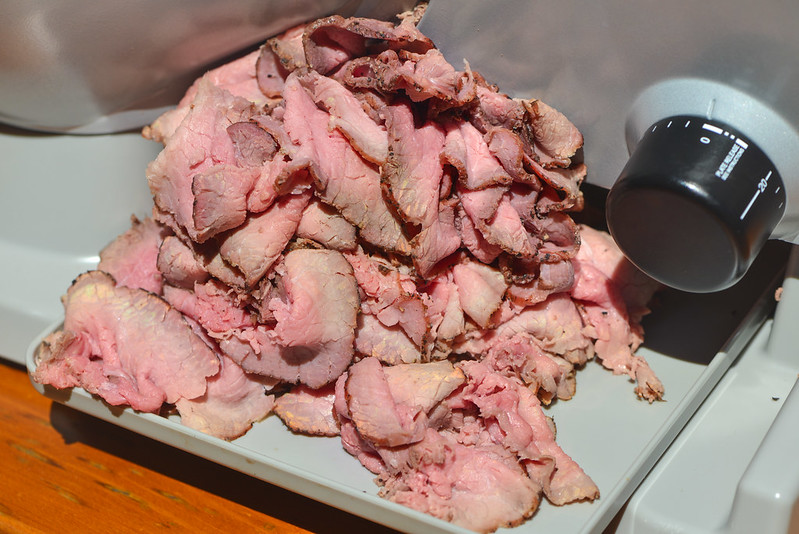
There's definitely an advantage to owning a meat slicer for getting thin and even cuts for sandwiches, but you can do this with a good sharp knife too. To be totally honest, the meat slicer presented a bit of struggle with the hot meat—it's so much easier slicing meat that's cold or close to frozen when you're trying to get very thin cuts.
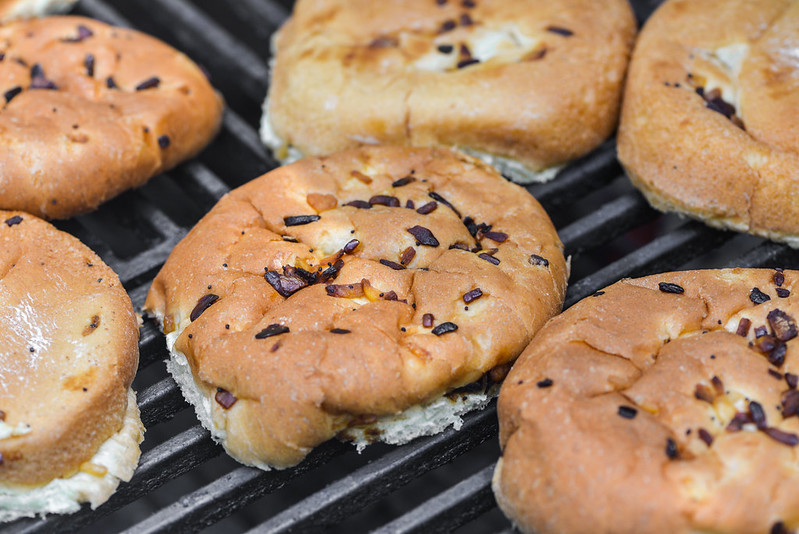
Even after resting and slicing the beef, those coals were still outputting some heat, although much dimensioned at this point now that it was almost an hour since lighting them. It was still hot enough though to toast my onion rolls before assembling the sandwiches. Never forget, toasty buns are happy buns.
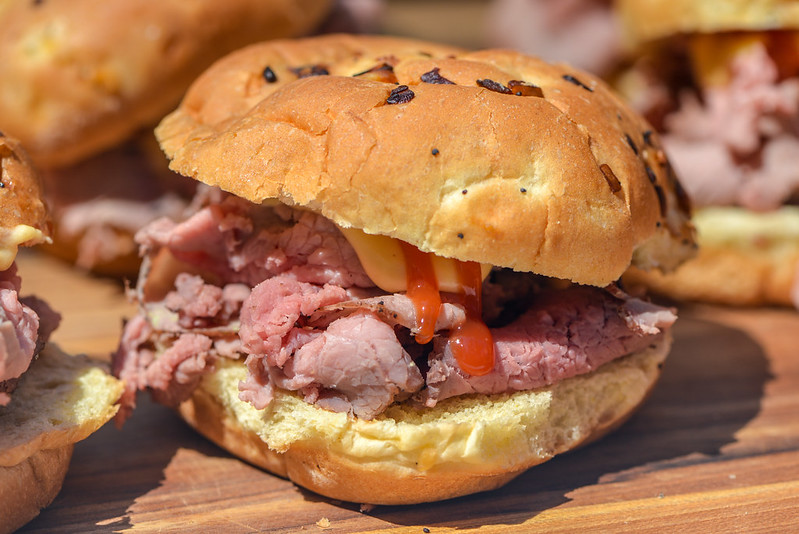
To put together the sandwiches, I piled roast beef into the rolls, followed by the cheese sauce that I had to quickly reheat before using, and finally the spiced ketchup. Now I thought I knew what it meant to love a roast beef sandwich, but didn't realize what pure devotion was until I tasted this thing. Sure, fast food processed meat product has its place, but this homemade roast beef was juicy, smoky, peppery, and just so flavorful that it may be hard to be satisfied by anything else going forward. Now add on top of that a cheese sauce that actually had the sharp flavor of cheddar, backed up with some heat from pepper jack, and then a spiced ketchup where you could taste the oniony and garlicky notes, and the whole thing came together to be one killer roast beef sandwich. Hopefully by now you don't need any more convincing to go grab a bag of Kingsford Hardwood Briquettes at The Home Depot and get to grilling this recipe!