Pocket Pitas

Grrrrrrr. Just thinking of working with dough elicits a deep visceral reaction of frustration and torment—"grrrrr" being one of the kinder phrases that comes to mind when trying to describe that feeling. I love bread, and so wish it came to me as naturally as working with meat. Why is proofing such a mystery, while seasoning so simple? Why is rising such a nail-bitter, while marinating is a walk in the park? Why is baking so perilous, while grilling so care free? All of those feelings should keep me a good distance away from any bread-making endeavors, but some perverse force seems to pull me into doughy situations that often result in the free flinging of expletives that, every once in a while, actually end with something that was worth the suffering, like these grilled pocket pitas.
My bread making has resulted in far fewer four-letter words after discovering the absolute joy of instant yeast. Proofing active dry yeast tends to happen at the beginning of most recipes, and with that step being a bit of a challenge for me, usually results in the whole process getting off on the wrong foot. Instant yeast, on the other hand, is mixed with with the dry ingredients and always seems to just work. Why anyone would use anything else is a mystery to me (baking nerds, feel free to enlighten me on this one).
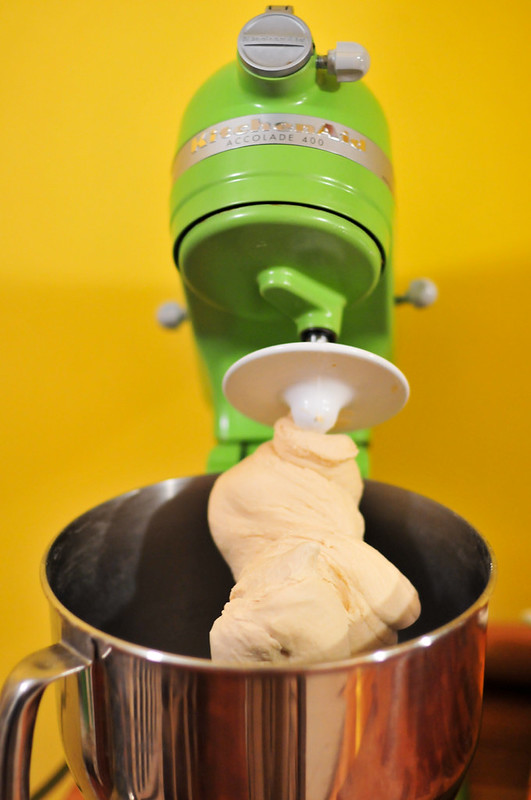
After the dough was kneaded with the Kitchen Aid (another helpful assistant to lessen the pain of bread making), it was set in the fridge to rise overnight, which it did perfectly. The "so far, so good" feeling I was getting was quickly smashed when it came time to roll out the pita.
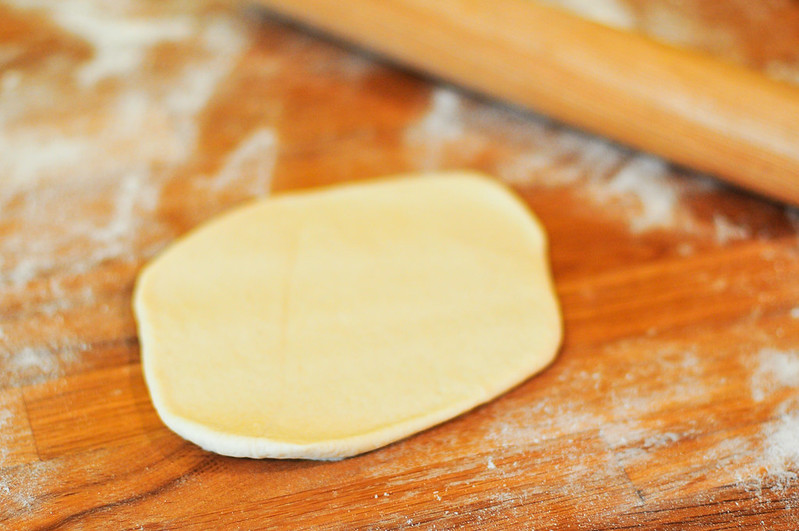
For the life of me, I couldn't figure out how to roll these out into perfect rounds, and instead ended up with odd rectangles and blobs. Although not ideal, I tried not to let this bother me, but problems were about to mount and frustration was just around the corner.
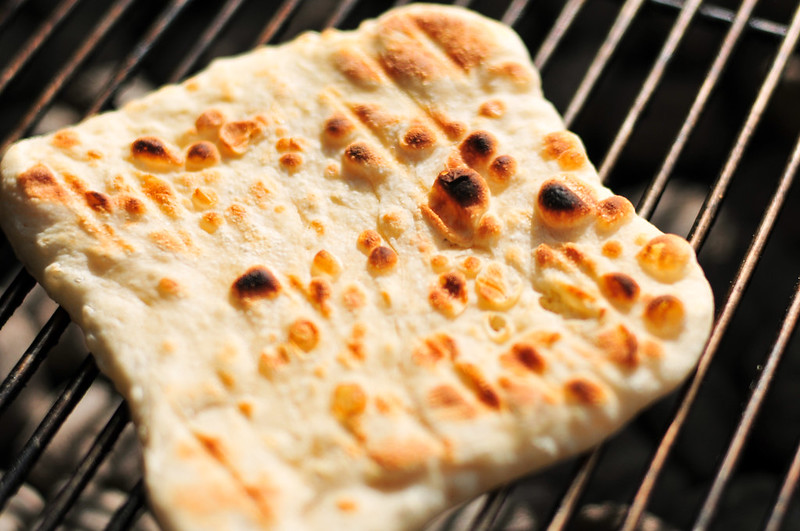
What was supposed to happen was that rolled dough that was supposed to be round was supposed to puff up when introduced to heat. Guess what? What was supposed to happen, didn't. I grilled off one horribly shaped dough after another into pitas that weren't developing their pockets. Dejection grew with each imperfect pita, so much so that I threw up my arms and called it quits halfway through.
It was quits until I had my head back on my shoulders and a temperament to clearly evaluate the situation rather than feed the flames of failure. Plus there was a grill out there losing heat, and I'm not one to waste any flames.
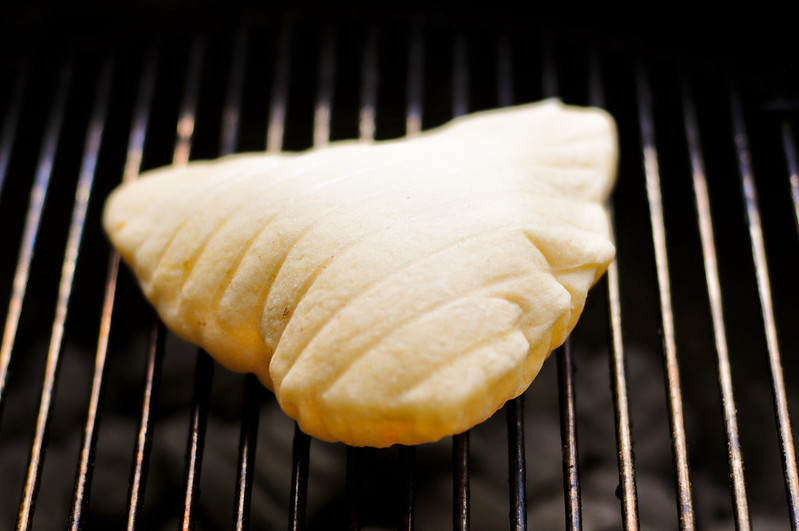
Back at the grill I began to consider what may have been going wrong. I knew the recipe said the moisture level had to be just right in the dough to form the pocket, so I took a spray bottle to the remaining pieces, and what do you know, the next pita puffed, transforming any lingering frustration into pure ecstasy—I did it!
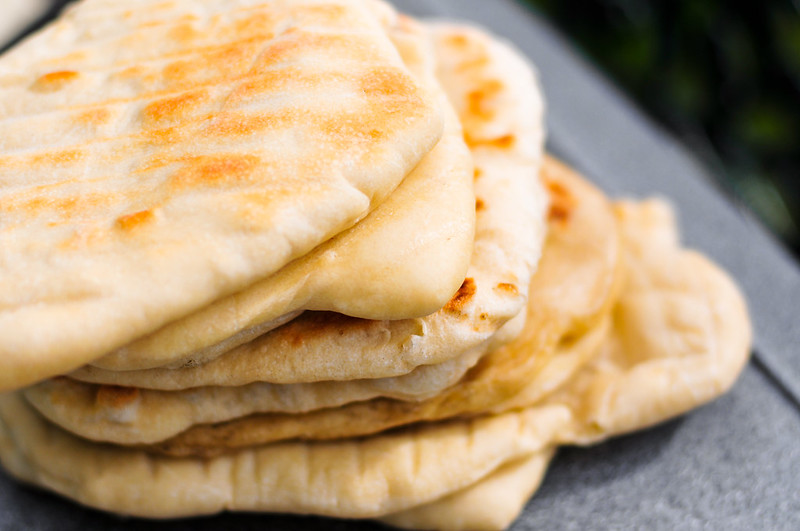
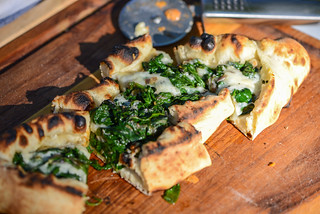
One after another, the final pitas all formed their pockets and came out looking like superstars (well, amorphous superstars). I attribute this success mostly to my break that calmed my hot head, but more technically speaking, it was the cooler grill and the added moisture to the dough that made these finally work.
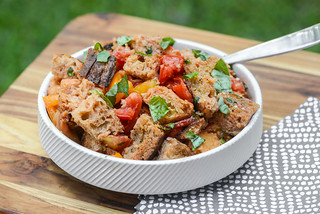
With that, I have yet another tale of doughy torment ready to be laid rest—one of the few that actually has a happy ending, which was made even happier once these pitas were stuffed with meat!