Maple-cured Bacon

My wife doesn't much care for savory-sweet things, while I do. That factors into my shopping decisions from time-to-time, like my choice of bacon—I would opt to pick up a sweet cured bacon occasionally if I was cooking for just myself, but knowing the wife wouldn't love it and that I'd be perfectly happen with the standard bacon, I never buy the stuff. When I was picking a couple of directions to go with my homemade bacon endeavors recently, I thought this was a good chance for me to delve into the savory-sweet territory by way of maple-cured bacon, knowing I was also making another batch of bacon utilizing a spice cure that would satisfy my wife's palette, so we'd both come out on the other side happy bacon eaters.

So far I've stuck with dry curing bacon, and while there was a liquid in this recipe from the use of maple syrup, it's still considered a dry cure. This was probably the simplest cure I've devised to date for any curing project I've undertaken—it was just maple syrup, brown sugar, kosher salt, and curing salt.
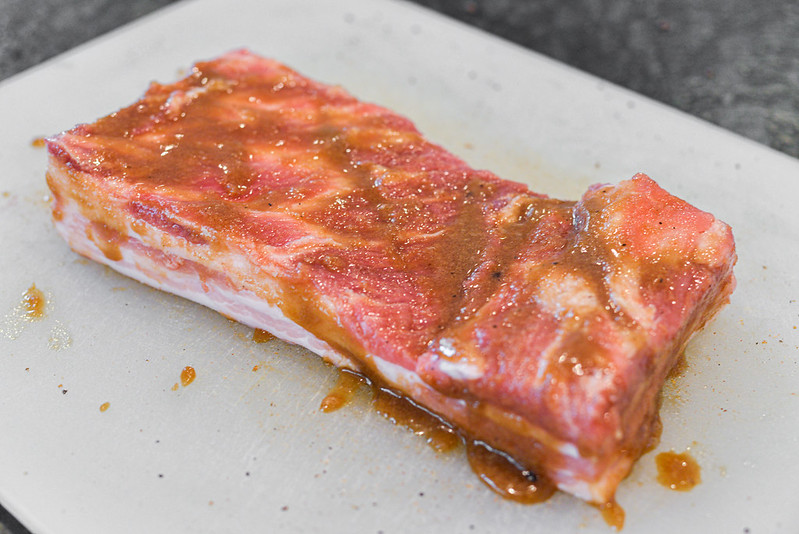
I applied this cure all over the the two and half pound piece of pork belly I had procured to turn into bacon. I had bought the belly boneless, but it did have the skin on, so I removed that first and used it to make some killer chicharrones. Even though it's not grilling, I feel like I need to share my pork rind process because I've been making them more often lately and they're really stellar when freshly fried at home and you can enjoy them while still crackling right after being taken out of the hot oil.
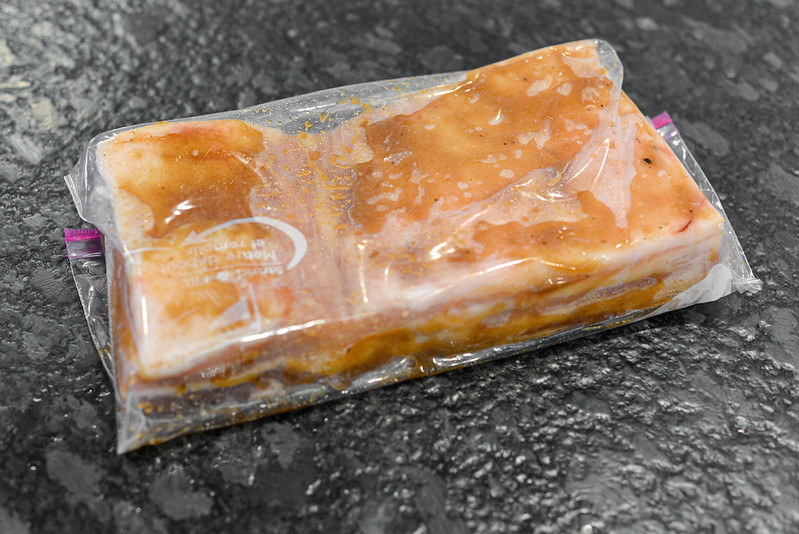
Next I transferred the belly to a Ziploc bag and placed it the fridge for five days of curing. I flipped the bag over twice a day to ensure the belly cured evenly throughout the process. For the first time that I can remember, I actually had the bag break open on me and drain out liquid. I commonly put my curing meats in a separate drawer or container just in case this happens, even though it previously never did, so there was actually some satisfaction in the fact that this extra precaution I take finally showed it was worth it, even though cleaning up the sticky mess was not fun.
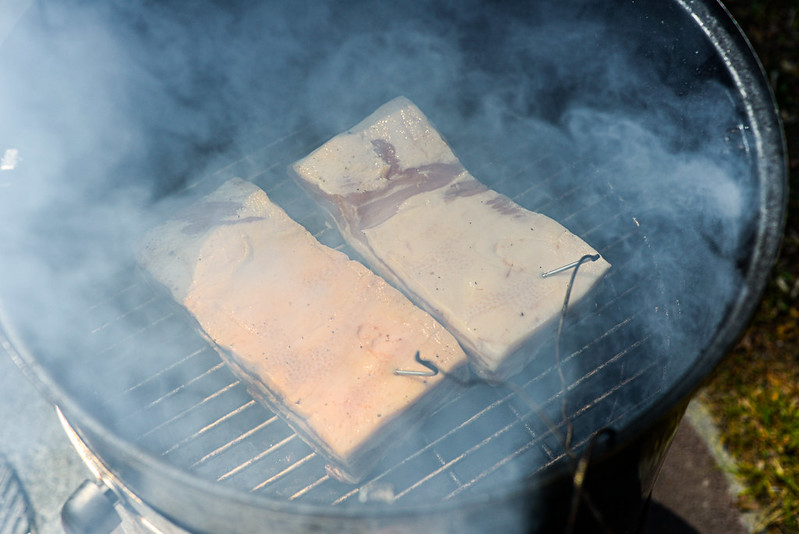
At the end of the five days, the belly felt much firmer than when it started, which is a good indicator that the cure did its job and it was time for smoking. I washed off any excess cure and then placed this belly, along with the spice-cured one, in the smoker running at around 215°F. Things look overly smoky in the photo because this was taken right after lighting the fire and wood, but soon after covering the smoker, the stream of smoke changed to the usual barely visible, but very aromatic, light wisps instead of billows.

The goal for bacon is to cook it to 150°F, which is not fully cooked, but enough time for it to absorb smoke and further firm up. I used my trusty CyberQ to monitor the temperature of the belly during the cook, and once it hit the 150°F mark after about one and half hours of smoking, I double checked the temperature at multiple points with my Thermapen to ensure it was truly cooked evenly all over.

Since it was, I took the belly out of the smoker and let it rest until it came down to about room temperature, Then it got wrapped in plastic and put in the fridge to chill completely so it would be easier to slice.

I adjusted my meat slicer to my desired thickness, which was between the standard bacon size and the thick-cut varieties—unless I have a need for thinner or thicker cuts, I like this happy medium I can get with my homemade bacons.

Once all sliced, I divided up the bacon into portions suitable for one-time use. I ended up creating three bags that had about eight slices each in it. I vacuum sealed them up and placed them in freezer until I was ready to use—the defrost time for packets like these is pretty quick in the fridge, super fast if you set the bag in a bath of cold water.

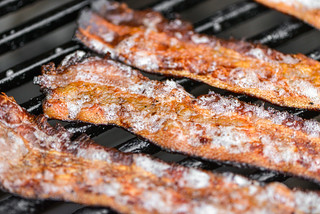
My first use for this maple-cured bacon was in fried green tomato BLTs, a recipe you'll have to wait just one more week for. I used my standard grilling process to cook up the bacon for the sandwiches, which involved creating a two-zone fire and roasting the bacon on the cool side of the grill, covered, until it darkened and crisped. This took around ten minutes total and I flipped the bacon regularly during that time to ensure it was browning evenly.

My wife saw the plate of bacon sitting out and dug into a slice and instantly asked, "Why is this sweet?" While she still ate all the bacon given to her, I knew this wasn't going to be her favorite, but to me, it was incredible. Since I don't eat a lot of sugar-cured bacon, it was confusing at first for the initial flavor to be of sweet maple syrup, but that taste was really great as the saltiness and meatiness came in and made everything balanced and delicious, in my opinion. It tasted even better as part of sandwich, where that sweetness was even more welcomed when paired with a spicy remoulade and peppery arugula. I can imagine a ton of other instances where a sweet tinged bacon like this would be the ideal choice, so it's safe to safe that the maple cure is going to remain in my standard rotation.
You Might Also Like


Comments
-
Patricia Burgen We purchased a whole hog (first time) they cut rashes of bacon. This is the best cure I've found.
-
Jim You don't say whether you use Morton or Diamond Crystal kosher salt... 1 cup Morton equals roughly 1-3/4 cups Diamond Crystal, almost twice as much. If you just specified weight, either would be fine. BTW - I used this recipe, and it was amazing; EVERYONE raved.
-
Pete You used twice as much curing salt then you should. For every 5 lbs of meat you use 1 teaspoon of curing salt! That is an unsafe amount of pink salt. Your going to make people sick!!!
-
ronetc "5 lbs boneless pork belly" . . . I have been trying without success to find the bone-in pork belly, just to see what it looks like.
-
Josh @Ronetc If you can get smaller pieces of pork belly, chances are you can get a large piece, including a whole bone-in belly. Where I usually shop they only have 2 1/2 pound pieces out for sale, but I just ask the guys at the meat counter for a whole piece and they'll grab me one from the walk-in and those will normally be bone-in.
-
David Carr You don't let your rinsed and dried pork belly develop a pellicle before smoking? Or is that just a given and you didn't feel the need to mention it?
-
Josh @David Carr I do not do the pellicle step and have never felt my bacon hasn't been sufficiently smoky.