Chicharrónes

With the onset of consistently making my own bacon, I've been left with ample amounts of pork skin as a by-product. Not wanting to let this continually go to waste, I decided I should learn how to make chicharrónes—light and crispy fried pork rinds—so I did, and they've now become a pleasant bonus each time I start a new batch of bacon. I've shared on this site previously that I've started making chicharrónes, and a few Meatwavers inquired about my process. I originally didn't write up a post because you can search "chicharrón recipe" and come up with pretty much this exact process in a ton of other spots, but there has been a couple things I've learned along the way that made it feel right to finally share out my own chicharrónes experiences.
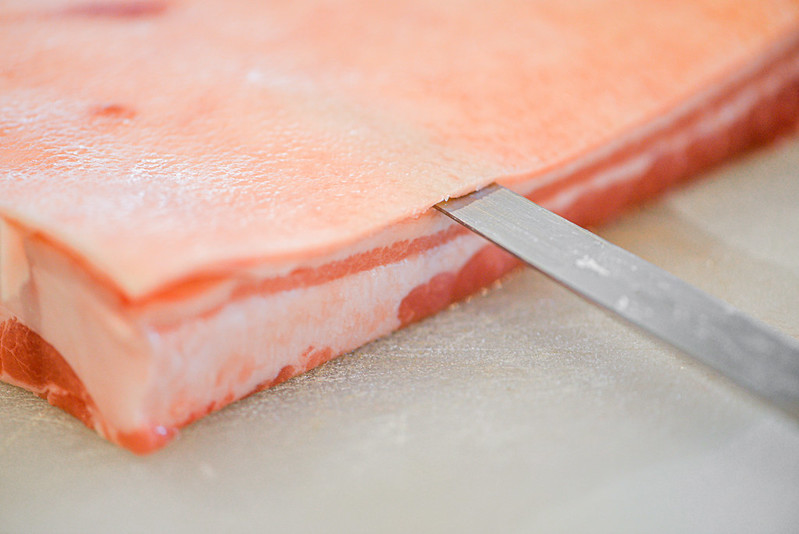
A batch of bacon always starts out for me with skin-on pork belly since that's how my source sells it. That leaves removing the skin the first step of all my bacon making, and the first few times I did this it didn't go so well with either cutting so close to the skin that I slashed through it, or too far that I removed more fat and/or meat than I needed to. But it ultimately just took some practice to remove the skin with relative ease, and no matter what, you'll be left with some fat still attached, and that's all fine for making chicharrónes.
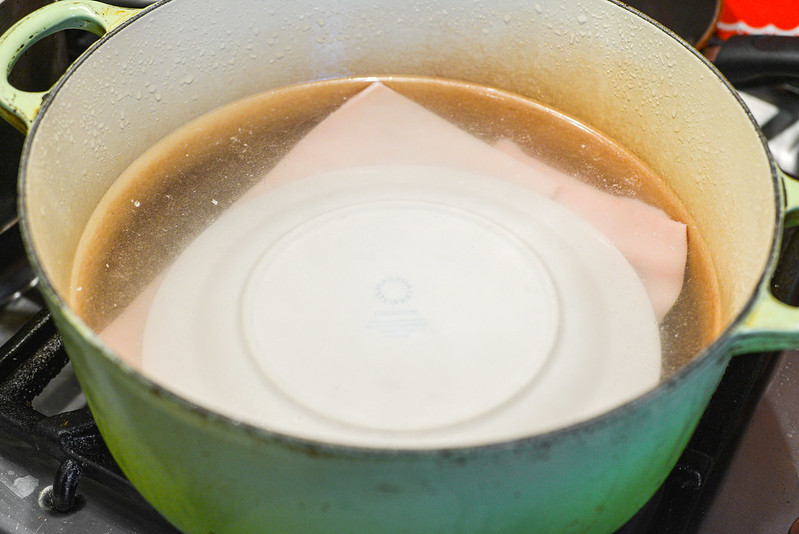
After divorcing it from the meat, the next step is to boil the skin. I do this in a Dutch oven and use a plate to keep the skin submerged during the process. Once the water gets boiling, I back the heat down to maintain a light simmer and let the skin soak until it lightens in a color a bit and is very soft and pliable, but not falling apart. This has been taking about an hour and half for me, with a couple times going upwards to two hours.
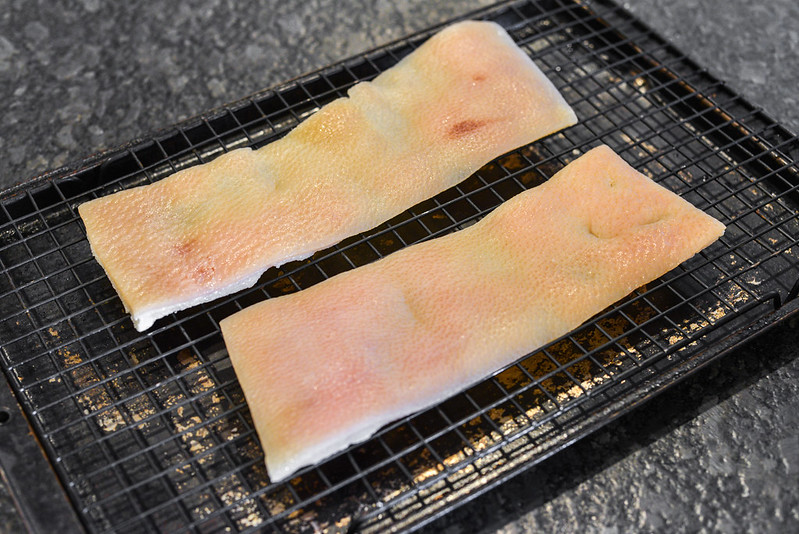
Once boiled, the next step is cooling and air drying, which I do by laying out the skin, fat side down, on a wire rack set inside of a baking sheet and placing the entire thing in the fridge, usually overnight.
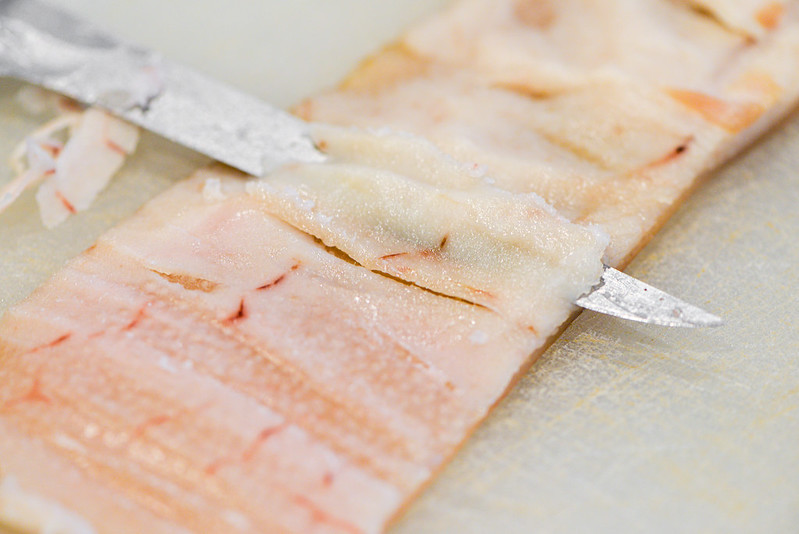
After the skin has cooled represents the best time to remove that excess fat. The fat is pretty easy to cut or scrape away at this point to leave just the skin remaining. The first couple times I made chicharrónes, I also divided up the skin into small pieces at the point in the process, but I was left with a number of final pieces of pork rind that had unpleasantly hard bits. I think this was happening mainly around the edges of pork, because once I stopped cutting the pork into small pieces before dehydrating, this problem pretty much disappeared.
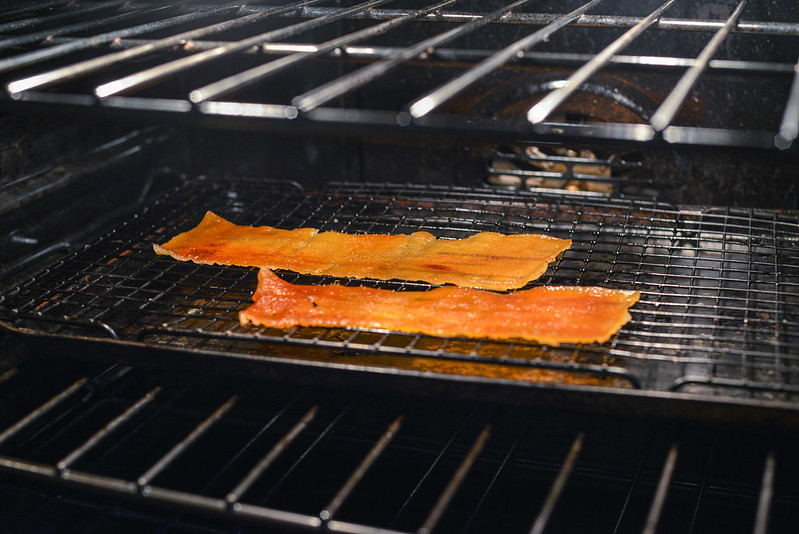
That dehydrating step is the longest, but like with so much of making chicharrónes. it's pretty much effortless. To dehydrate the skin, I pop the baking sheet in a 200°F oven and let the skin cook until it's a golden brown color and brittle, which tends to clock in around eight hours. One thing I learned in the dehydrating step is that it's helpful to lift the pork from the wire rack ever now and again because it will stick and can be hard to get off if you let it sit undisturbed the entire cooking time.

As soon as the pork comes out of the oven and can be safely handled, just a minute or two, is the best time to break it up into small pieces—as the skin cools, it gets harder and harder to easily break. The skin is already pretty tough at this point and my attempts to cut it with kitchen shears have failed, so I just use brut force and utilize my hands to create roughly one-inch squares. Word of caution here though, since the the skin is so hard and brittle, it's possible to cut yourself doing this, which I did once and then learned to be more careful to avoid a repeat.
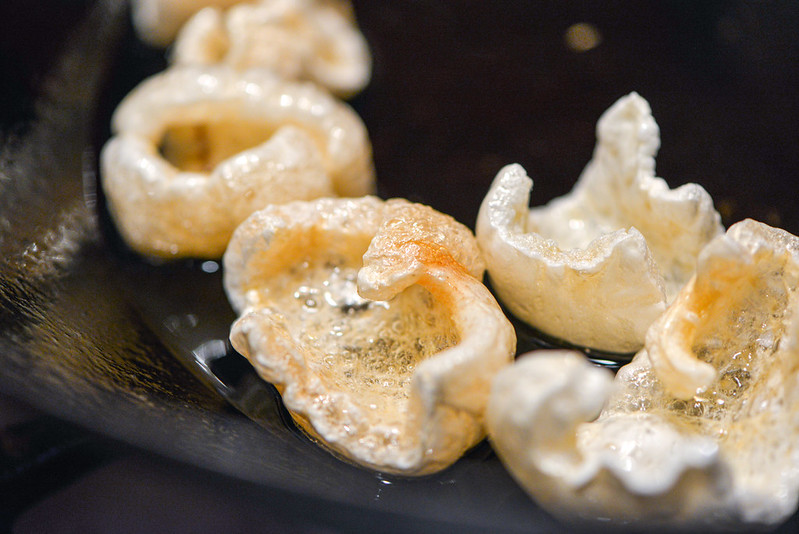
While not much work actually went into the making the chicharrónes, it's still been about a sixteen hour journey that usually has spanned two days to get here, so it's nice that the frying piece is incredibly quick. I use oil heated to between 375-400°F and drop a small handful of skin pieces in at once. Within 15-30 seconds, they puff up and are done. Sometimes I need to flip or press down a few in the oil to ensure that all pieces of skin are fried, but really this part of the process feels almost magical with how quickly it happens and and how satisfying it is to produce picture perfect chicharrónes.
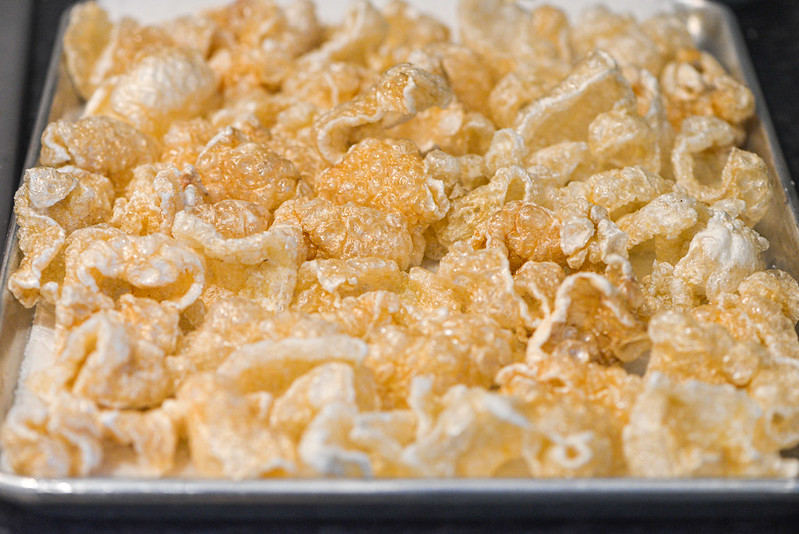
As each batch of pork rinds are done, I transfer them to a paper towel-lined baking sheet and season with salt. Then it's time to enjoy while they're still popping and crackling.
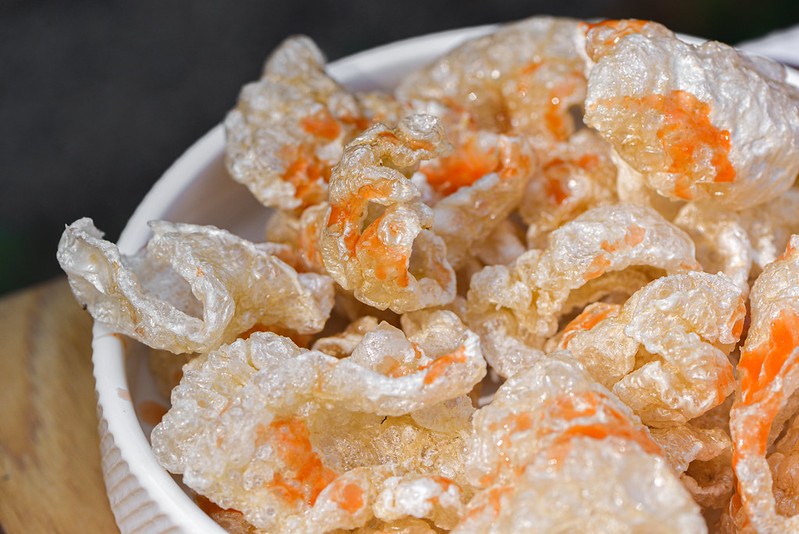
So light and crispy, I find chicharrónes a very satisfying snack on their own, but even better when lightly dressed or paired with a dip. For seasoning, my favorite way to do them up is with a spritz of fresh lime juice and some shakes of hot sauce. For dripping, they're especially good with Thai creations like nam prik noom or nam prik ong, where the light flavor and texture of the pork rinds go especially well with the heat and complexity of the dips. Of course, some American standards like ranch and pimento cheese also are great—it's really hard to go wrong with chicharrónes!


